
THE ARCHIVE
A JOURNEY IN CUSTOM SIGN MAKING
Not my journey of course, but Tyler's journey. ;) Guys, I'm still talking about Christmas things, just go with it, okay? For Tyler's side of the family we all draw names for Christmas and buy gifts for that one person. This year Tyler got his brother-in-law for Christmas and he decided to make him a custom painted sign. Tyler had been wanting to do a project like this for awhile and he was really looking forward to having it all come together.
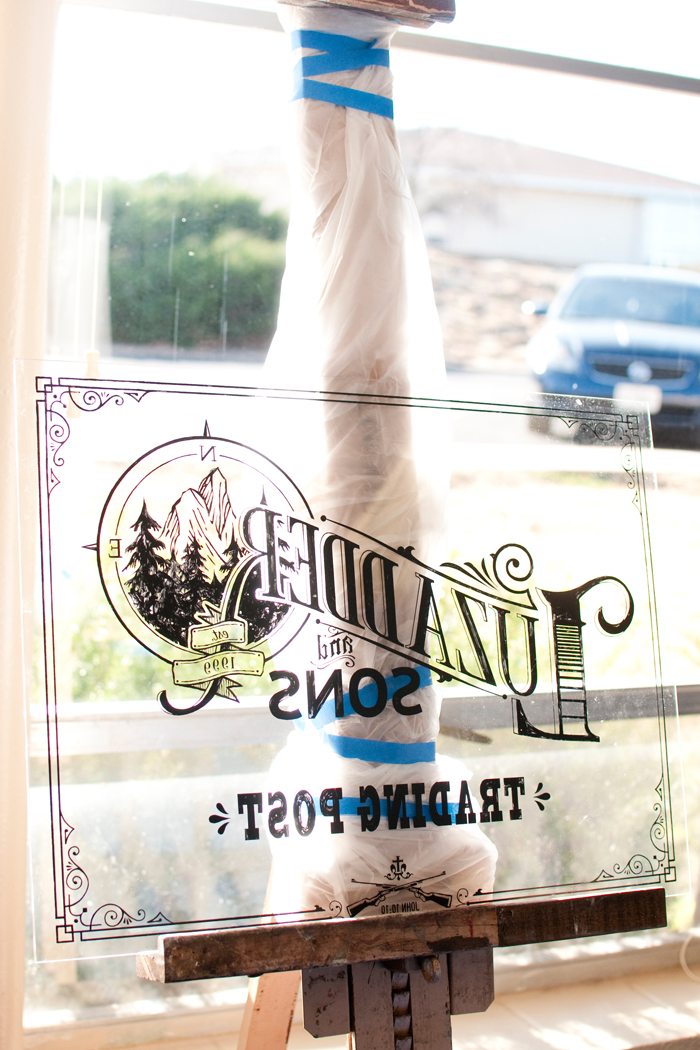
Tyler chatted with his sister about some ideas for the sign and how big they wanted it. Tyler needed the dimensions for the design and for the supplies to build the frame as well. Before Tyler moves forward with any type of project he sketches it out. He'll sketch and sketch and sketch until he as a solid blueprint for going forward. For this particular project, after he was finished sketching, he completed the design in photoshop. Once he was finished with the photoshop design he printed it out in sections. Tyler planned on painting the design on to a large piece of plexiglass.


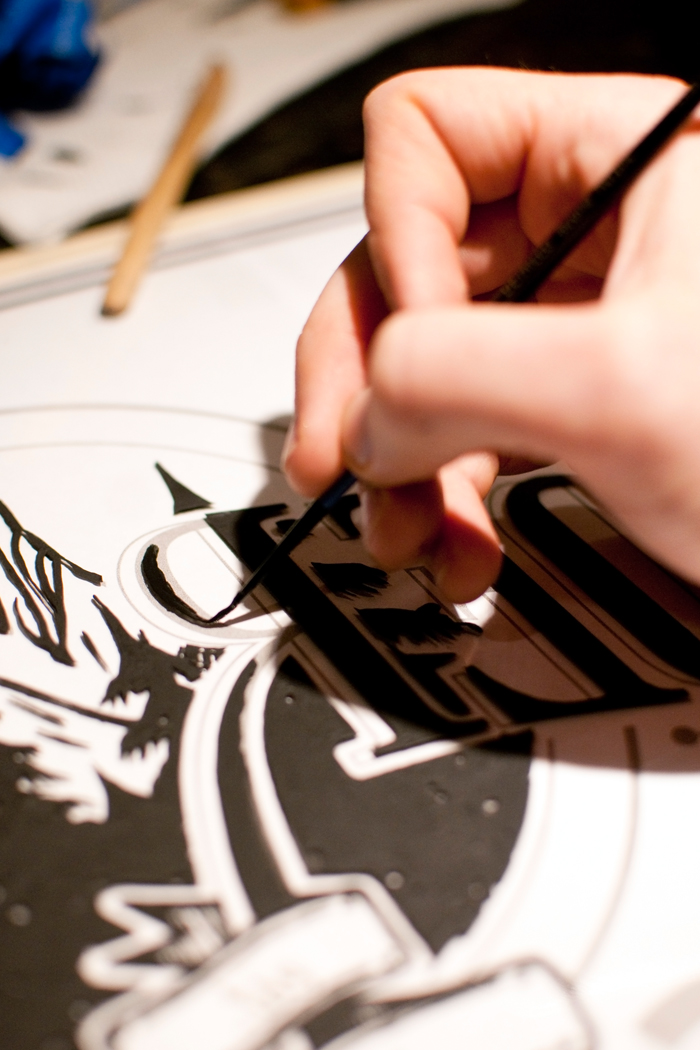

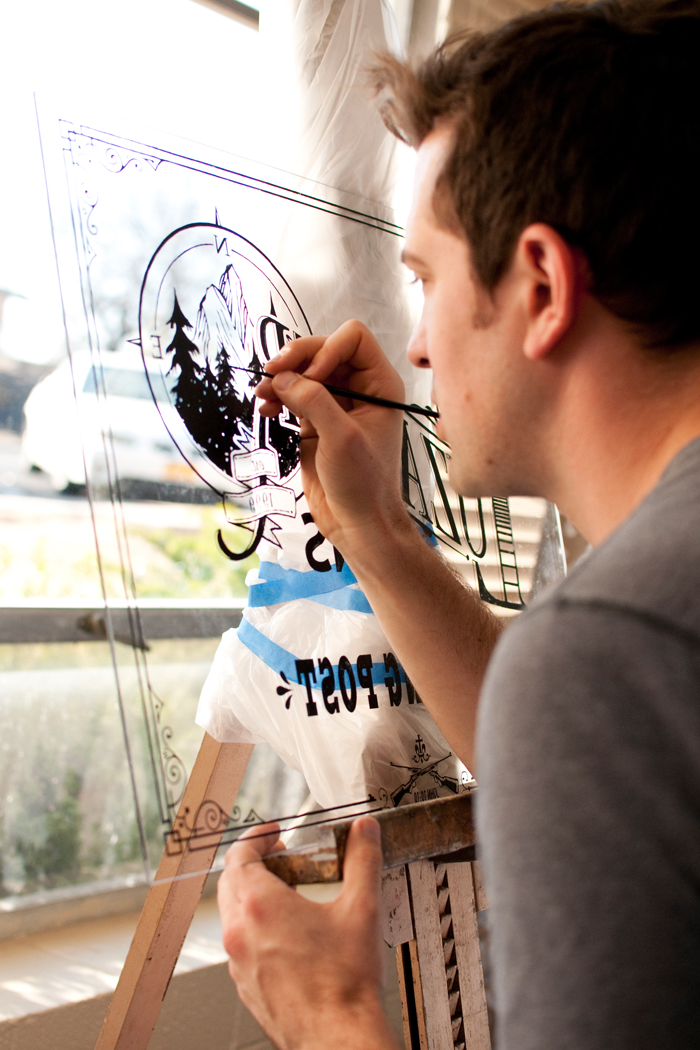
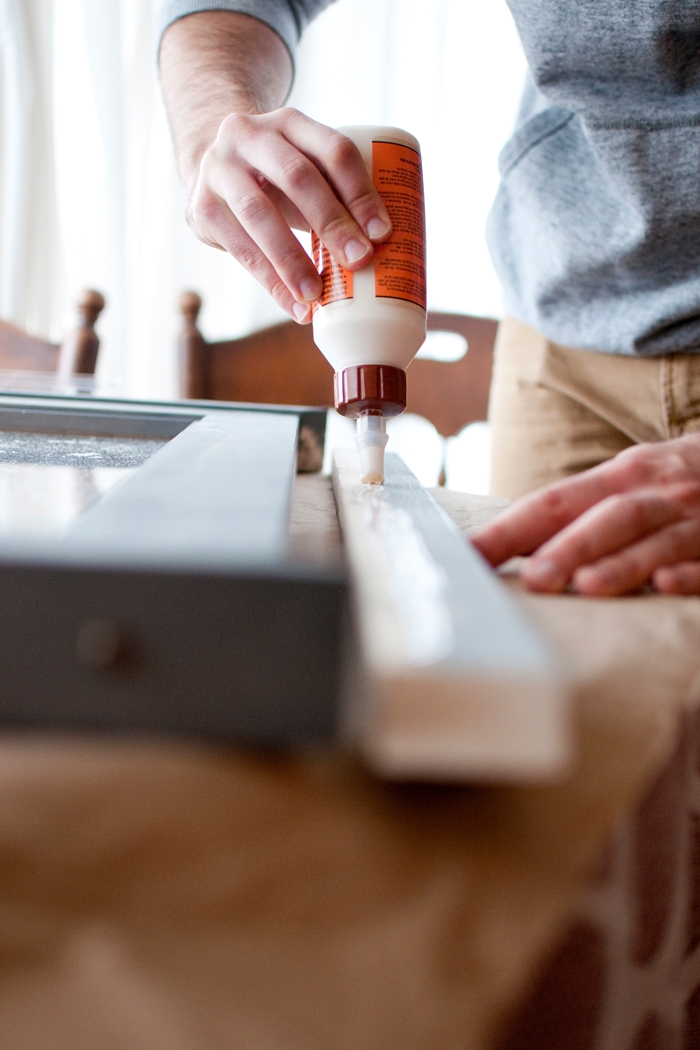
Once everything was designed... and printed... and cut... and attached to the plexiglass, Tyler started painting. Tyler started this project a few weeks before we left for Christmas, so many of his nights after work were spent painting. The process was long, as the painting was very detailed and precise. Before we left for Christmas Tyler also built the frame for the sign. He cut and prepped all the pieces so that we could load them in the car and it could be assembled once we arrived in Joplin.


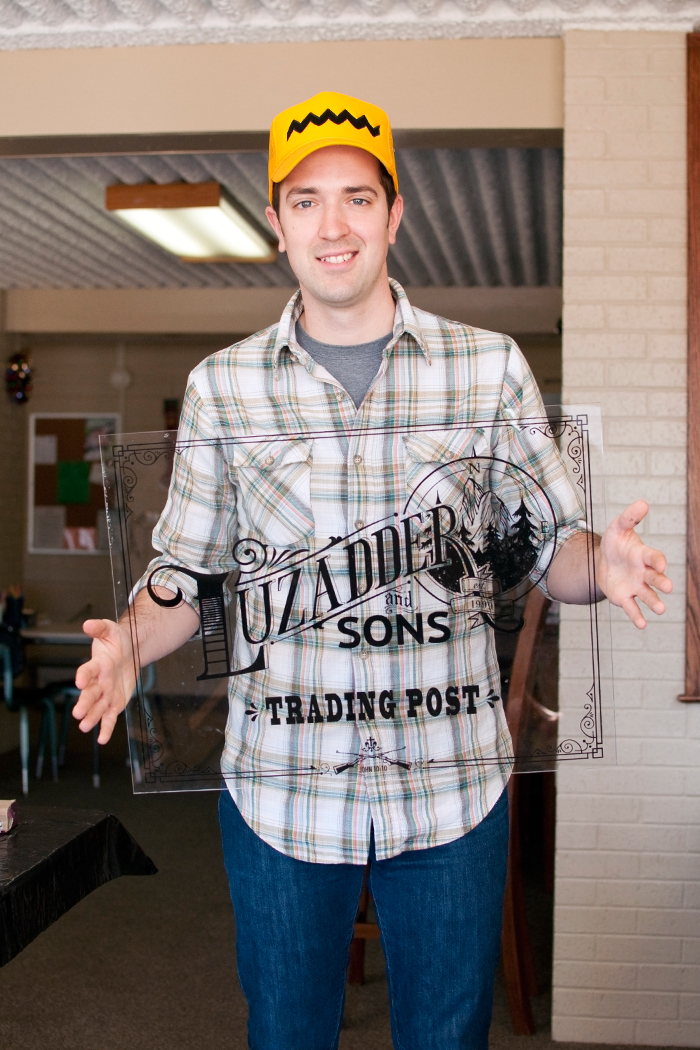
It was while in Joplin that the final details all came together. Tyler finished the painting. I even helped a little too, ha! ;) Not on the detailed stuff, of course. But I did help fill in all the large black areas to make sure everything was solid. Tyler's sister stained the frame once we got there and once it was stained Tyler assembled it. Between his mom's place and my mom's place it all came together.


That seemed like a short synopsis of the process, but you get the idea, right? ;) Even though I didn't paint it or build it, I still feel like I was a part of it. Tyler is always coming up with and creating great pieces of art. I think it's so cool, I wish I could create like he does. He always tells me I can and I know he's right. It would just take lots of practice and lots of hard work. Tyler just makes it look so easy. Have you or any of your friends tackled a project like this? What was your favorite part? How did it inspire you? xoxo. Samantha
DIY GUEST WELCOME BAG

One thing that Tyler and I really love is making other people feel special or doing special things for them. One of my favorite things is learning people and finding out what their favorite things are so we can surprise them with it later.
A few weeks ago I decided I wanted to make a special guest welcome bag for Meg when she arrived and since she was here this weekend I thought I would be so fun to share it today. When we started gathering the goodies for this welcome bag it all started with Bath and Body. We were there picking up candles and that's when I decided to make a welcome bag. Because, you know, Bath and Body has those really cute travel size lotions and sprays.

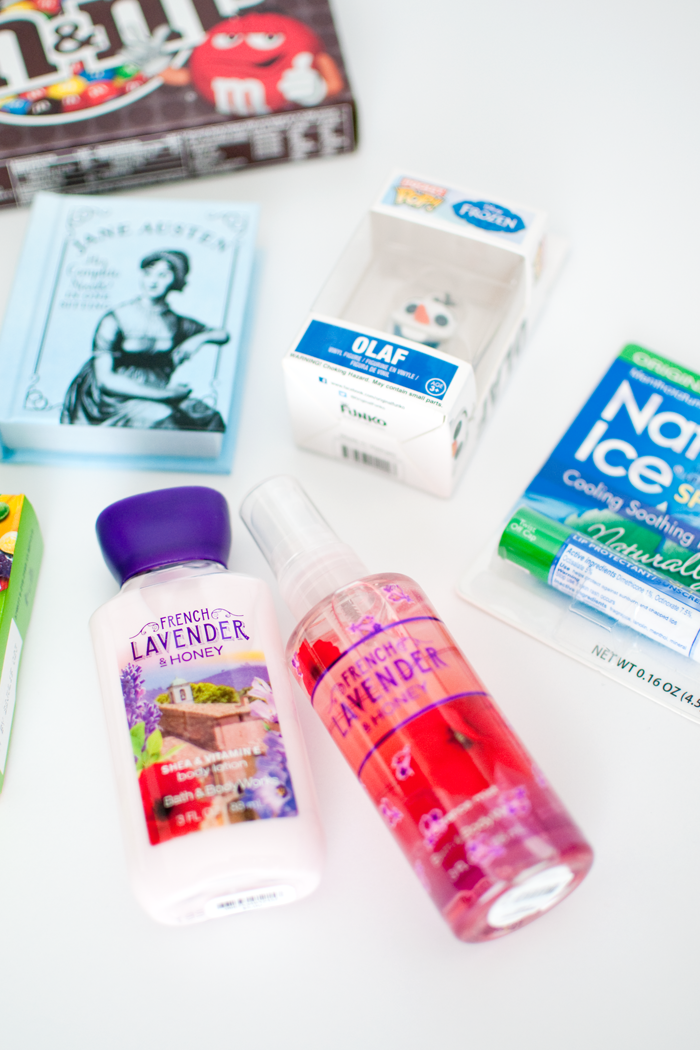

After we had the Bath and Body goodies we picked up a fun size Jane Austen book from Barnes and Noble as well as a little Olaf Pop! So cute! I finished off the goodies by picking up some of Meg's favorite candy. No goodie bag is complete without some sweet treats.


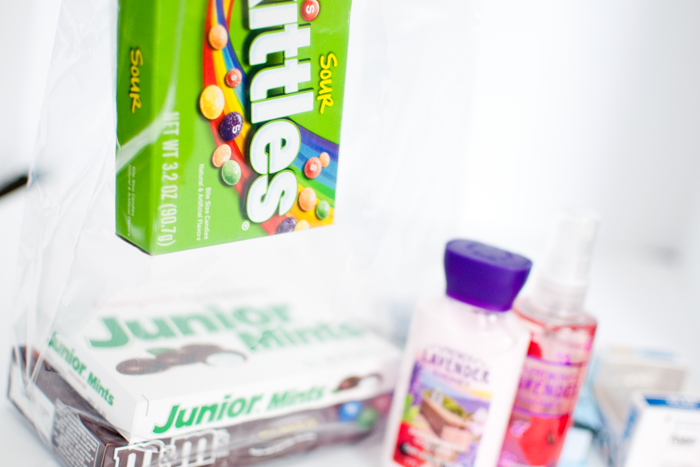


I put all of the surprise goodies in a Bath and Body clear bag and sealed it with a red bow. It took a few times to get everything inside and still looking cute. Once it was finished I gushed at how cute it was and wished I had one for myself. ha!


We really love welcoming people into our home and creating welcome bags is such a great way to do it! Do you create welcome bags when you have visitors? What are your favorite ways to welcome people into your home? xo. Samantha
DIY WASHI TAPE MASON JAR VASE
My favorite types of projects are the ones that come together quite easily. Projects that only require a few supplies, projects that can be worked on with supplies I already have. If you're looking for a quick and easy DIY project this is the place for you, because that is how I roll.
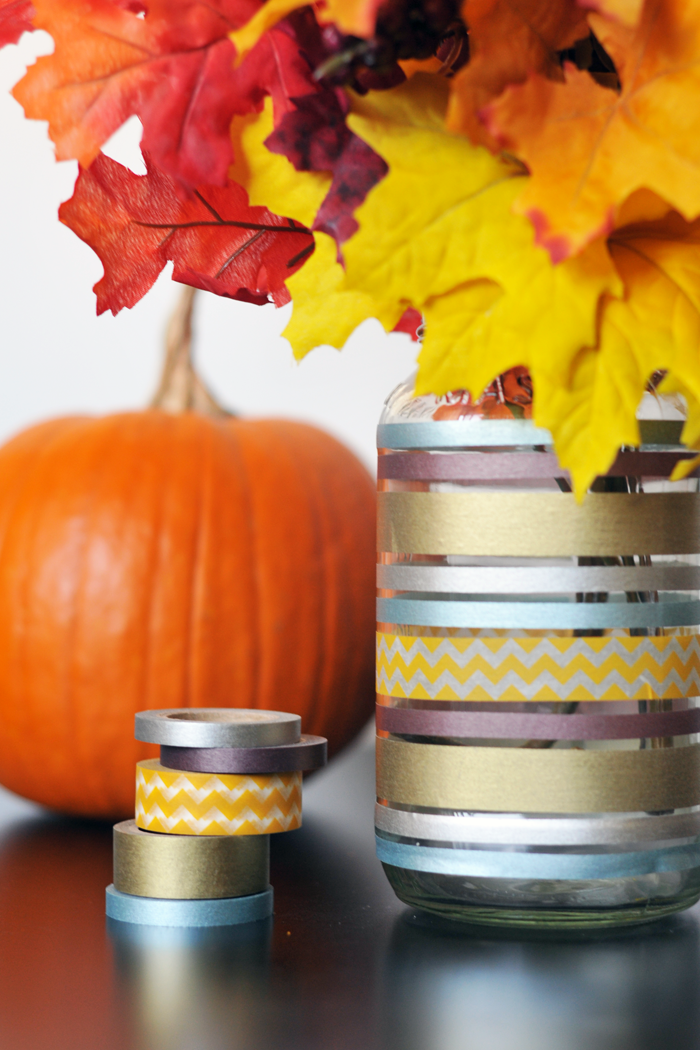
Here in SoCal the leaves don't really change and the weather only cools a little. No seasons in SoCal, people. So one day I decided I would pick up some fake Fall leaves and when I got home they went directly in a mason jar. I had my Fall leaves and I had my mason jar. The one down fall, those fake stems aren't super cute and I wanted a way to dress up the mason jar.
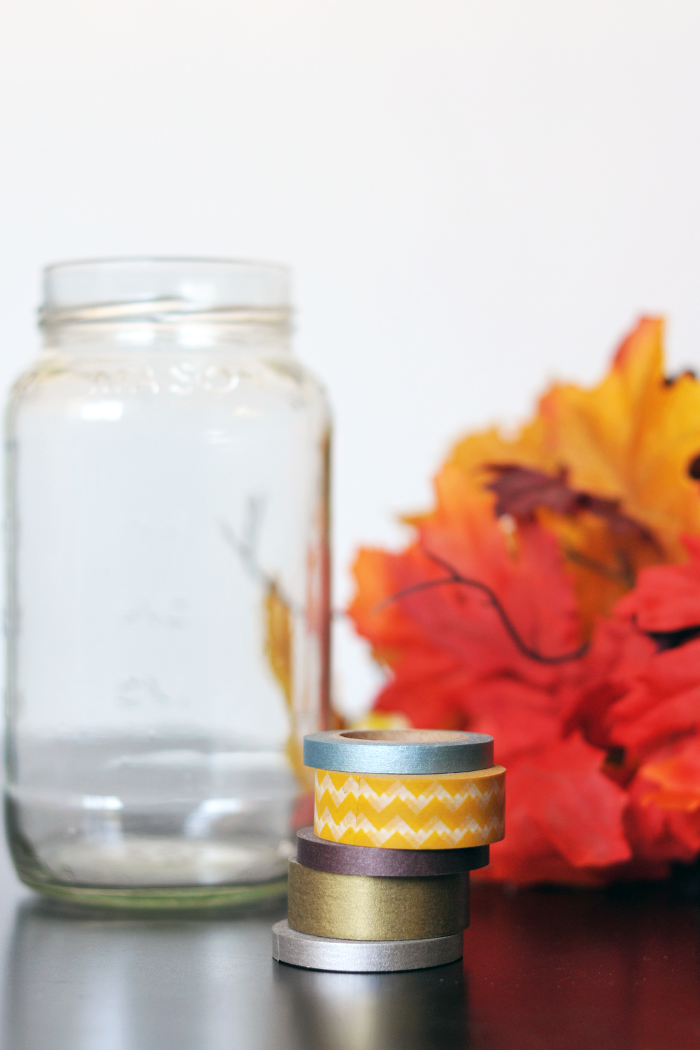
I thought about spray painting the jar gold with spray paint. I really do love gold spray painted jars, but I wanted something that I could change, something that wasn't permanent. And then I thought, washi tape! Yes! Washi tape is perfect! It would add some fun color, but I could still remove it later. This project is so easy too. All you have to do is pick out your washi tape and add a design to you jar.


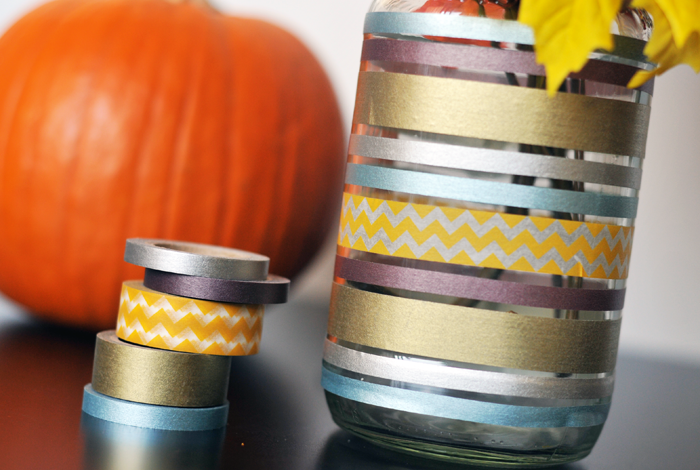

Easy peasy! Right? I love how this jar turned out, quick, easy, and super adorable. How is your holiday decorating coming? Are their any items you could dress up with some washi tape, share your projects with us! #ElahTreeProjects xo. Samantha
DIY IPAD SLEEVE

For the most part Tyler and I are rather frugal. We have a set budget and we do our best to stick to it. It's tough, but often times it inspires creativity and resourcefulness. Our ipad has been hanging around our house without a case of any kind. We use it often and then just set it down in the office. I'm not super fond of it hanging out uncased so I set out the make a sleeve for it. We don't cart it around every where we go so I didn't see a need to purchase a protective case. Plus, we're on a budget remember, and purchasing a case was not in the budget.
I decided I would make a padded sleeve for it. I love padded sleeves because they are really easy to make and super functional. I wanted something that would keep the ipad safe and sound while we weren't using it.

Sleeves really are one of the easiest things to make. For this project you need six different fabric pieces. Two pieces for the outside fabric, two pieces for the lining, and two pieces for the inside padding. Start by cutting all of your pieces, each of my pieces were 10" x 12". For the most part you want an extra inch of fabric all around your ipad. This will provide a good amount for seam allowance and it will insure you ipad will actually fit without being to snug.


Once all of your pieces are cut lay your outside fabric print side facing each other and then put a piece of padding (interfacing) on each side. You are basically sewing it inside out. Pin around the sides and then sew around the sleeve. Remember not to sew the opening of your sleeve.

Once those pieces are sewn together set them aside and grab the two pieces for your inside lining. Lay those pieces facing each other, your sewing these inside out too, and sew around the edges. Remember, to not sew around the top of your sleeve and remember to leave an opening at the bottom as well. You will need that opening to pull your sleeve through when you finish.


Once your inside lining sleeve is sewn take the outside section with the padding and turn it right side out. Then take the lining of the sleeve and pull it over you sleeve. Sew around the top of the sleeve attaching the lining to the outside fabric.

Once you're finished pull the sleeve through the hole in the bottom of the lining fabric so everything is right side out. Sew the bottom of the lining hole and place the lining inside the sleeve. The last step is so sew a seam at the top of the sleeve to finish the look. All done!


Making sleeves/cases is actually one of my very favorite projects. They are super easy and come together rather quickly. I also really love how versatile they are, they can be used for so many different things. Happy creating! xo. Samantha