
THE ARCHIVE
MABUHAY FROM THE PHILIPPINES

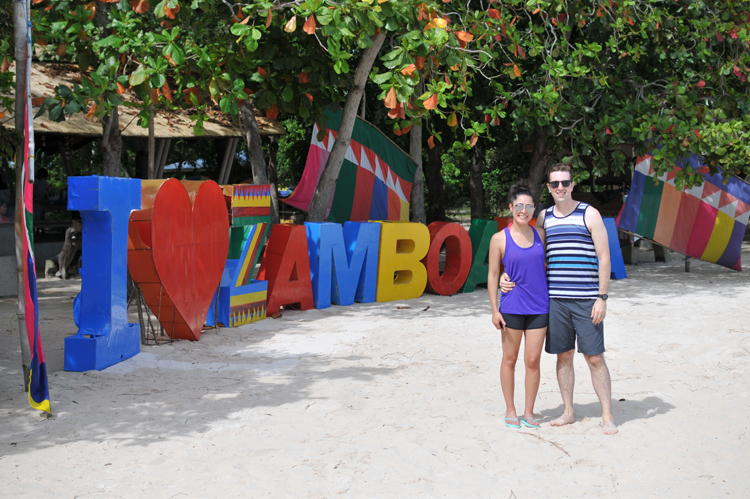
Things slow down around here in December. It's one of my favorite times of year... and I'm finally able to share about our trip to the Philippines. I'm not even sure where to start. Tyler and I traveled to Zamboanga City, Philippines to celebrate my brother and his wife. They got married and it was beautiful.
We took a redeye from JFK to Manila. It was a 20 hour flight, with one stop in Vancouver. It was my first international flight and the longest flight I had ever been on. My biggest concern was the long plane ride, but it was unexpectedly pleasant. I watched movie after movie, and the flight attendant brought lots and lots of food. The hardest part about our flight was not getting to lay down when I was super super tired, haha.
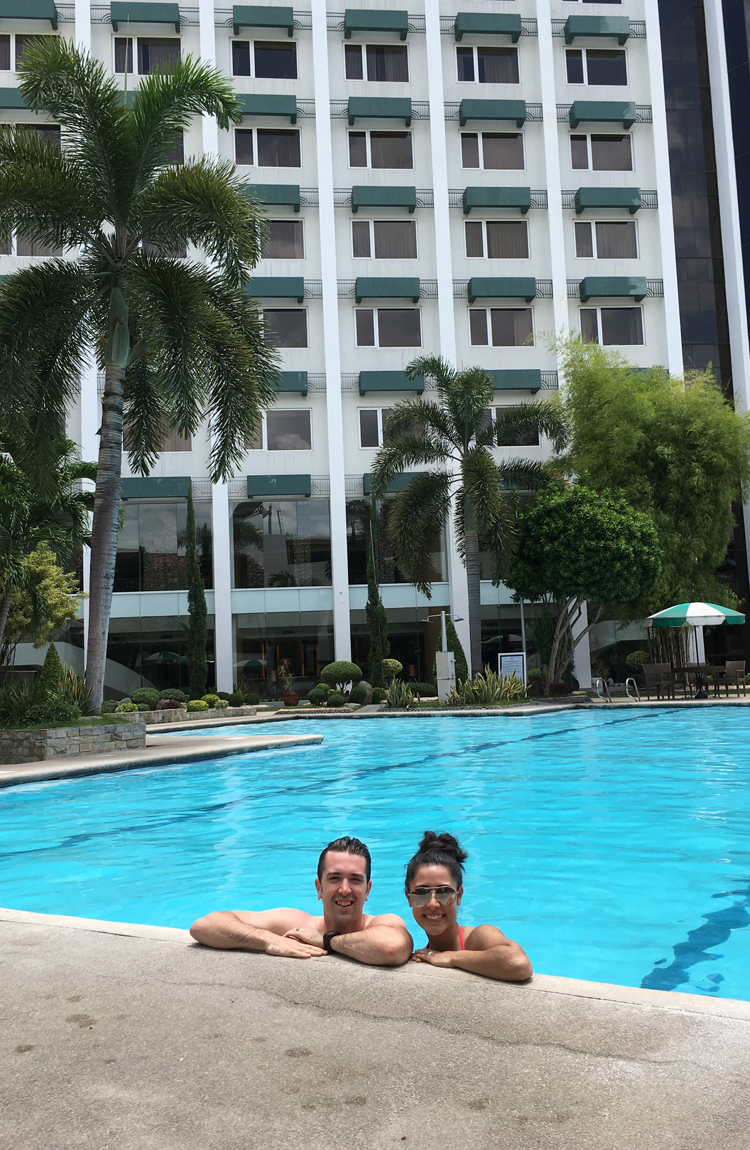
We landed in Manila with a 20 hour layover, then we had another redeye to Zamboanga City. We arrived as the sun came up. It was the first time I would be seeing my brother for almost 2 years and it was also the first time meeting Michelle, my brother's new wife. It was a lovely reunion and an amazing trip. We stayed at the Garden Orchid hotel, which I would highly recommend. I would also recommend that you take a trip to the Philippines. :)
Our first day started with a 6:00am breakfast. After breakfast we had a short bit to unpack and settle in. Later that morning we were off to the church for my brother and sister-in-laws baptism. We had our first lunch with all the in-laws were we had amazing food and amazing company. I ended up crying at the table because I was so exhausted, but managed to pull my self together, haha. I felt like I had been up for two days, whew.


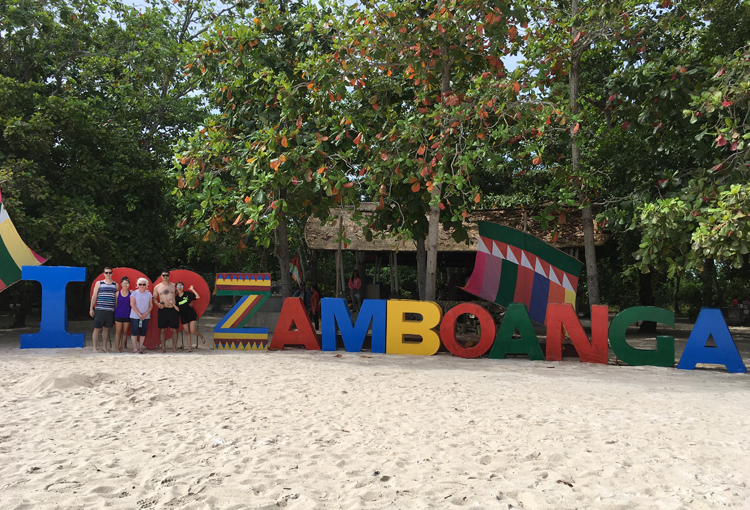
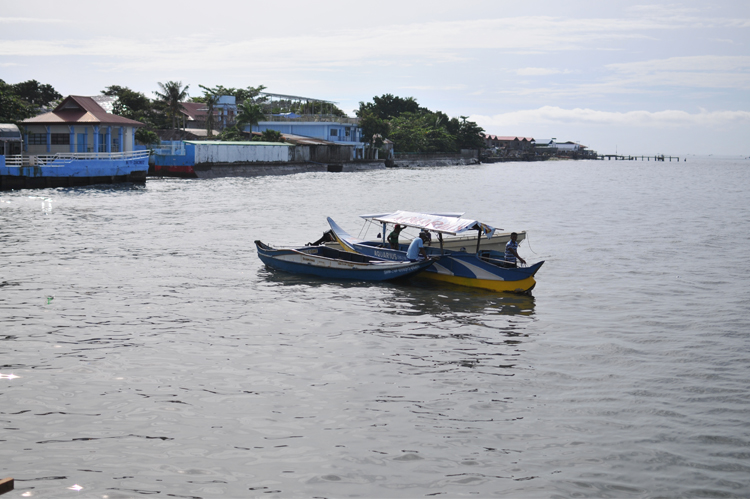
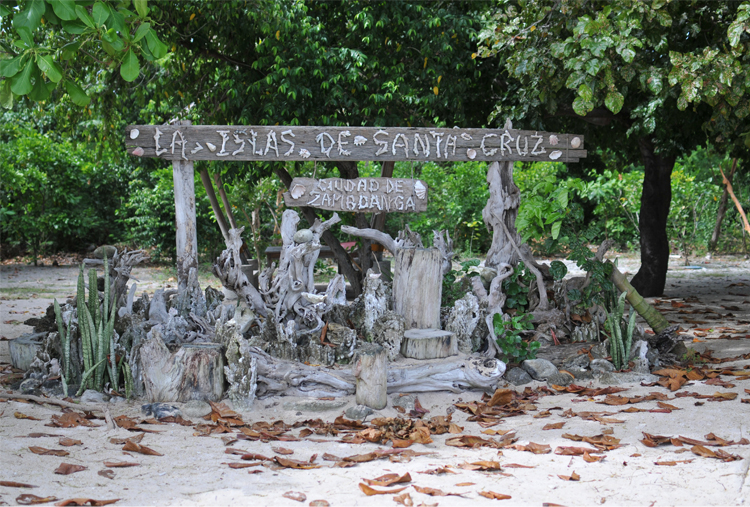
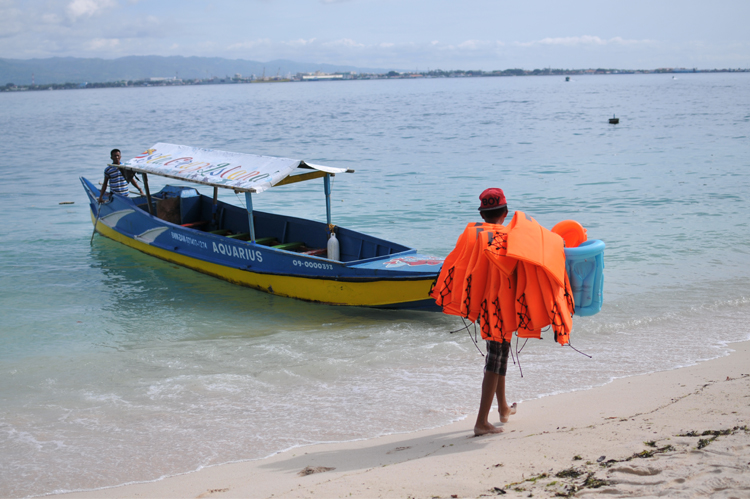
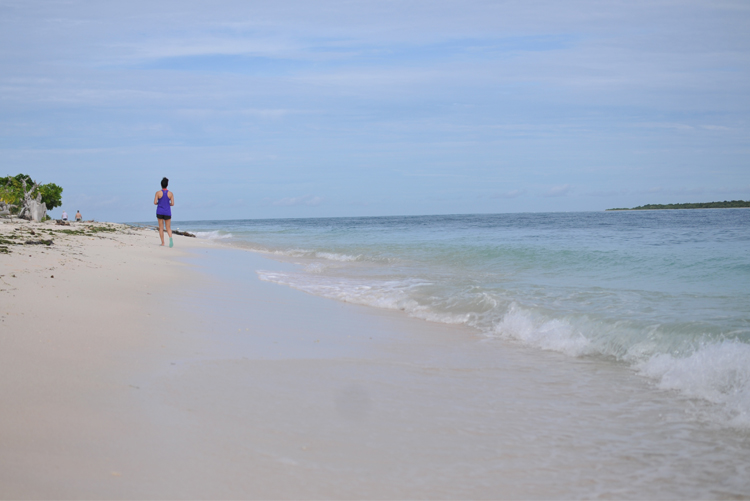
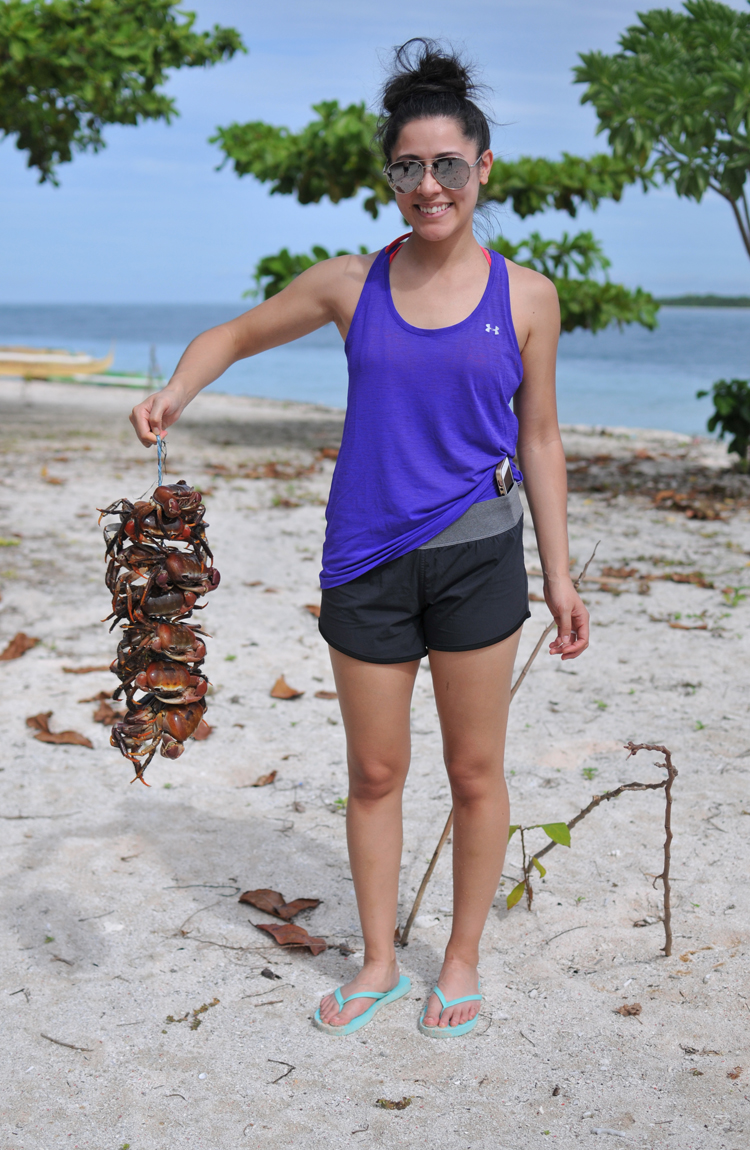
Our our second day we went to Santa Cruz island, known for it’s beautiful pink beaches. Everything was amazing. We took a small boat to the island and I was just sure we were going to sink. ;) But we didn’t. We were only on the beach for a few hours, but it was beautiful and peaceful. We met locals, took pictures, sat under trees and had the very best time.


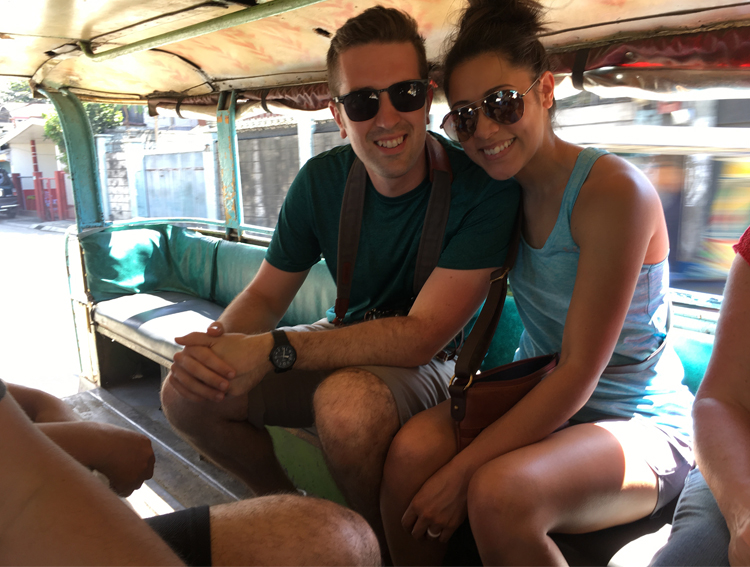
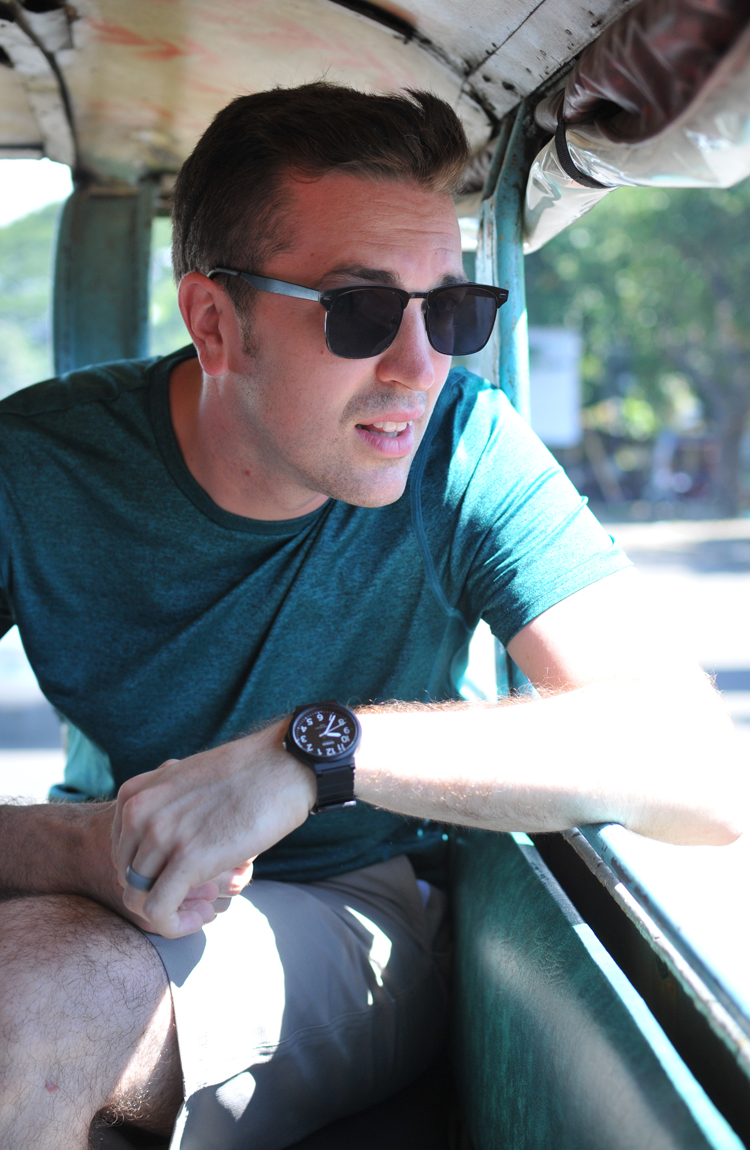
We did a variety of things while we were there and all the days are running together now, whew. A few of our our favorite highlights included riding in a Jeepney, this was one of Tyler’s favorite things ever and I will agree, it was so fun! Jeepney’s were originally made from US military jeeps left over from World War II… if you were wondering. :) All the jeepney’s we saw had open seating and we jumped from one to the other. When someone wanted to get off, they simply tapped the railing with a coin.


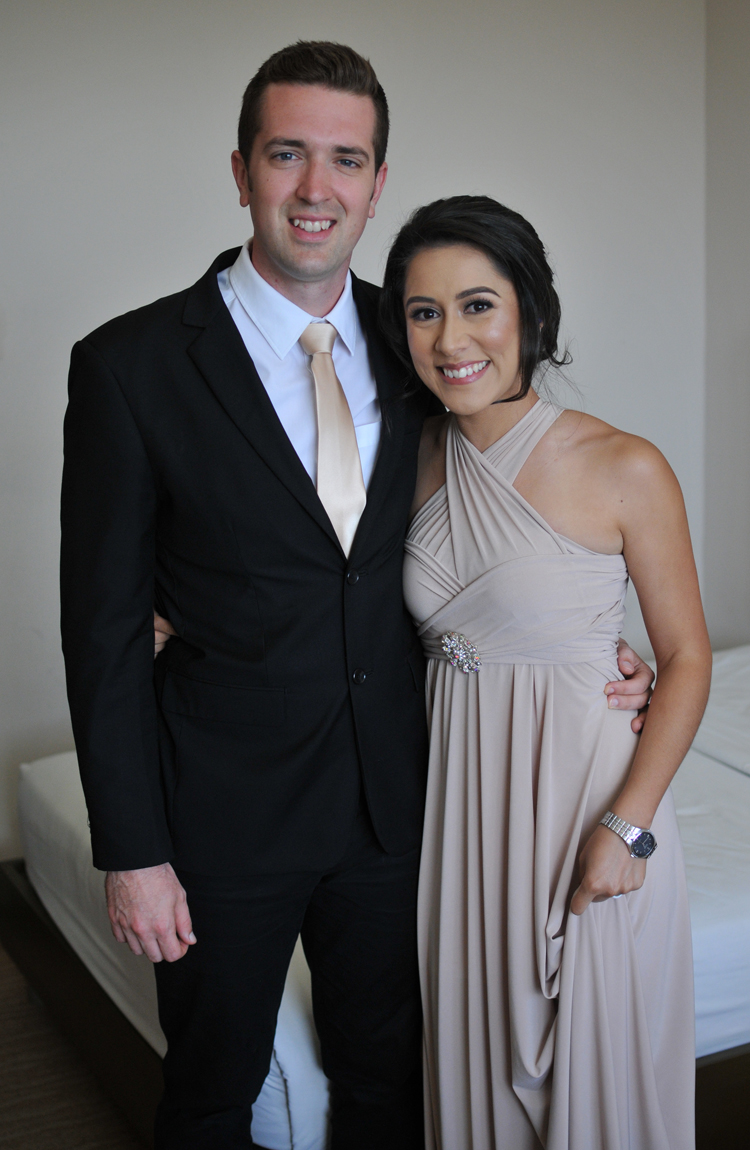
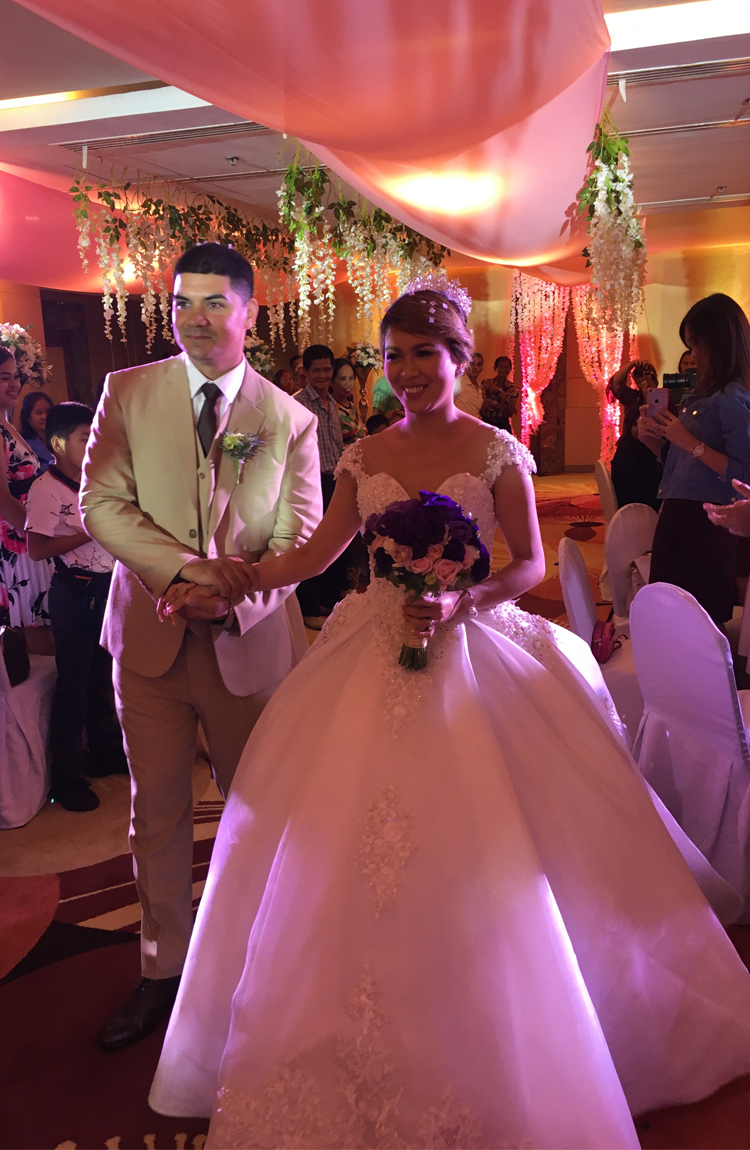
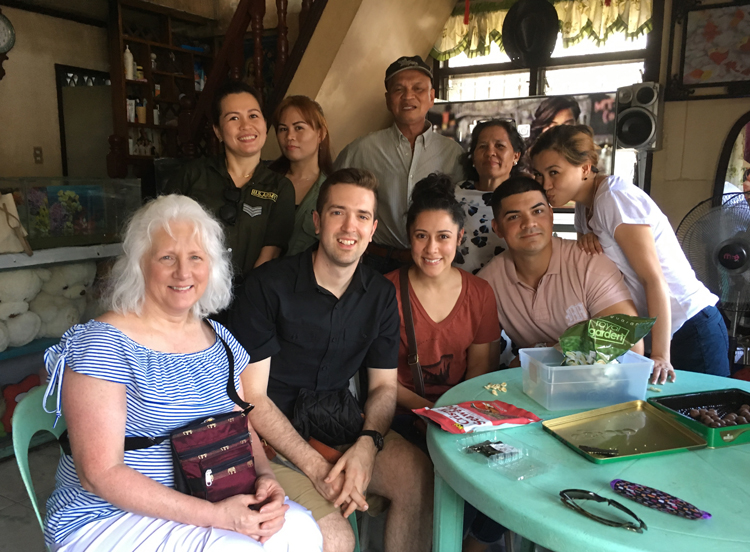
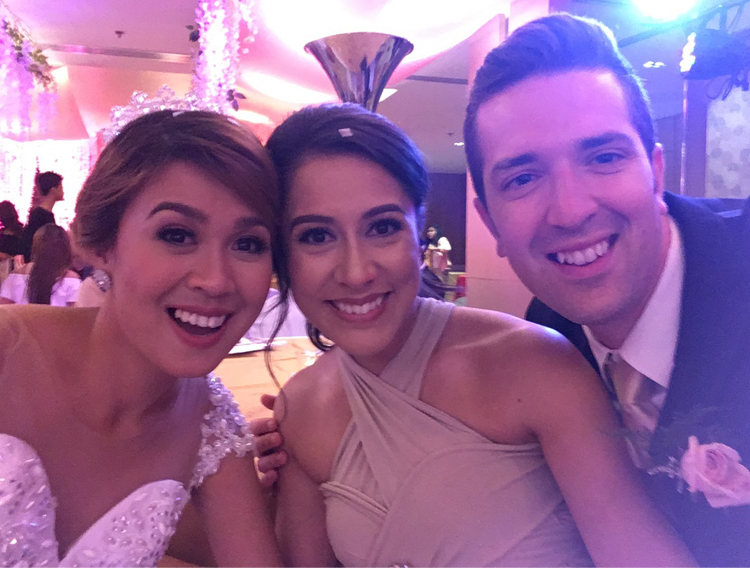
The wedding was on Friday, so we had the week to explore the city and have lots of fun. We had breakfast that Friday morning, followed by hair and make-up... my first time ever having my make-up done, and our attire was all ready for us. Tyler and I were apart of the wedding party and slightly unprepared, haha! We were considered sponsors for the wedding and we were in charge of the veil. Both of which are traditional in Philippine culture. During our part of the ceremony, neither Tyler or I knew what to do, so one of the wedding planners helped us. During the reception we both had to give speeches too… and we were unprepared for those as well. I got up on stage and was completely speechless. My brother coached me from the side as I stared at him.
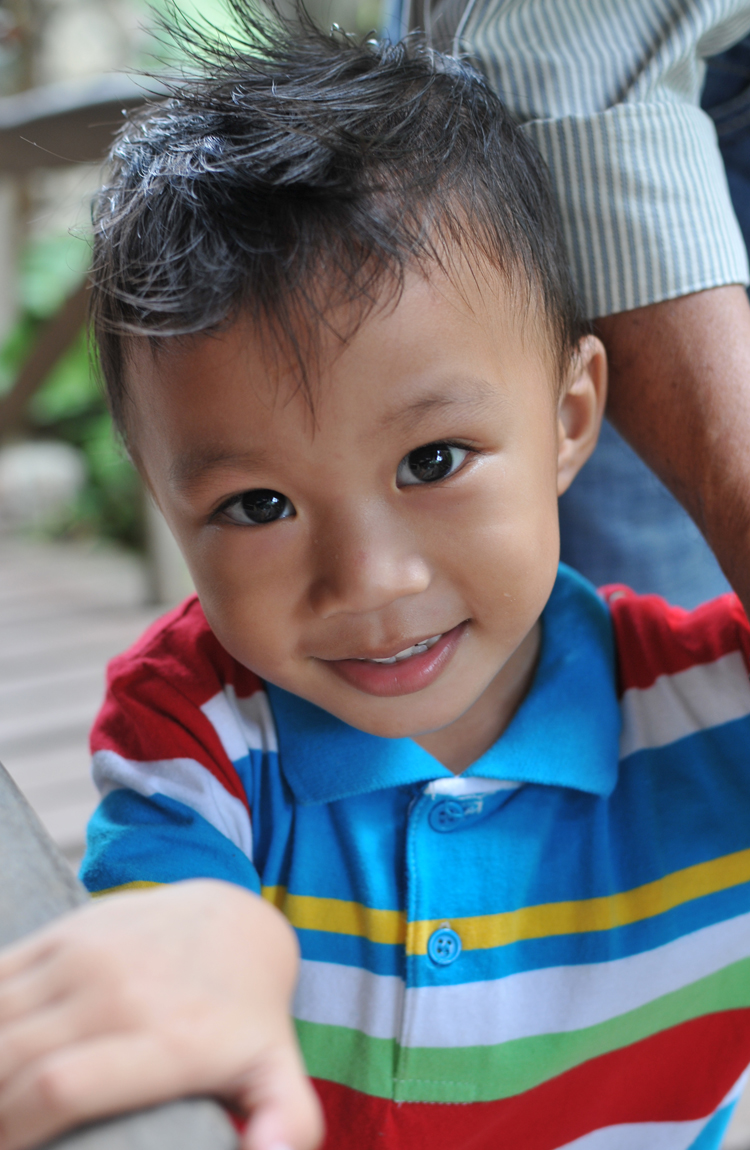
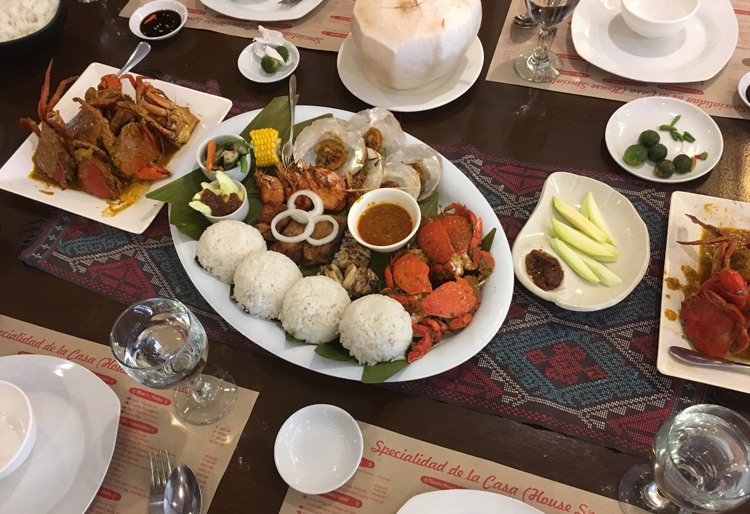
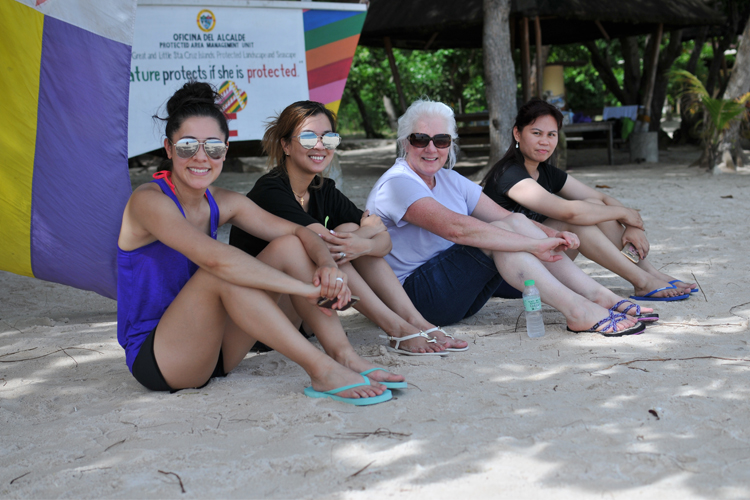
My brother and Michelle, went above and beyond to take care of us and make sure we had an amazing time. Michelle’s family was so open, generous, and kind. Our favorite part of the trip was the culture and all the people.
Another random thing… Tyler and my mom were a hit with everyone. Zamboanga City doesn’t often get foreigners, so the fact that they were obviously foreigners (they are white, haha) they sure brought a lot of stares. We had a great time and it was one of the most amazing experiences! We definitely plan on going again. xoxo. Samantha


THE MACY THANKSGIVING DAY PARADE + PHOTO TIPS

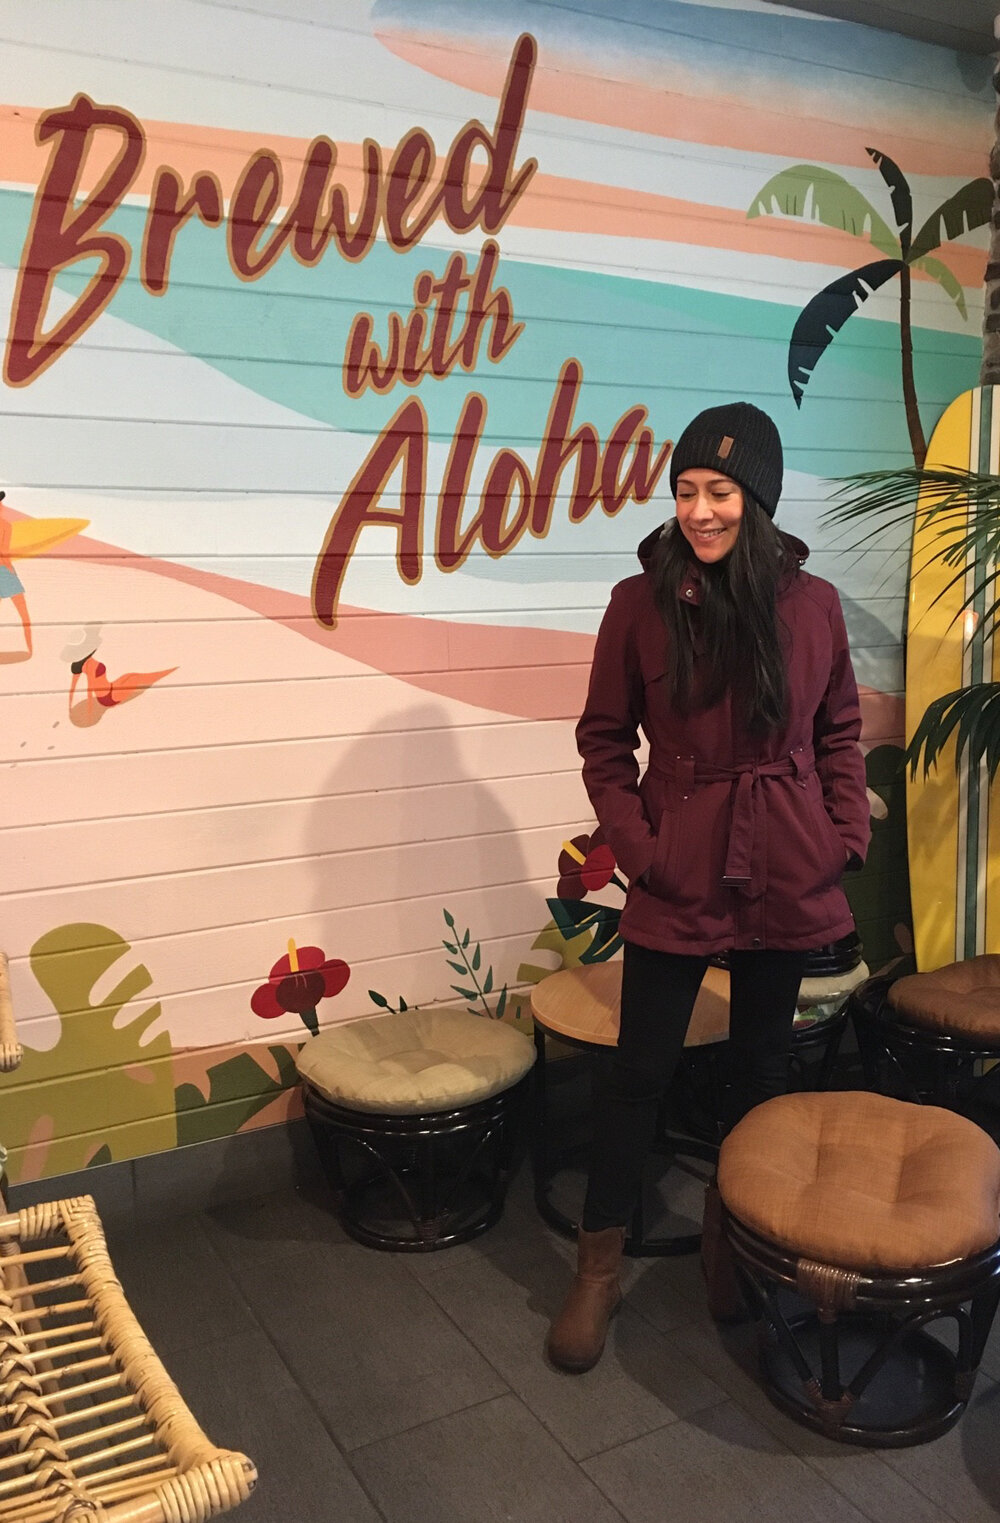
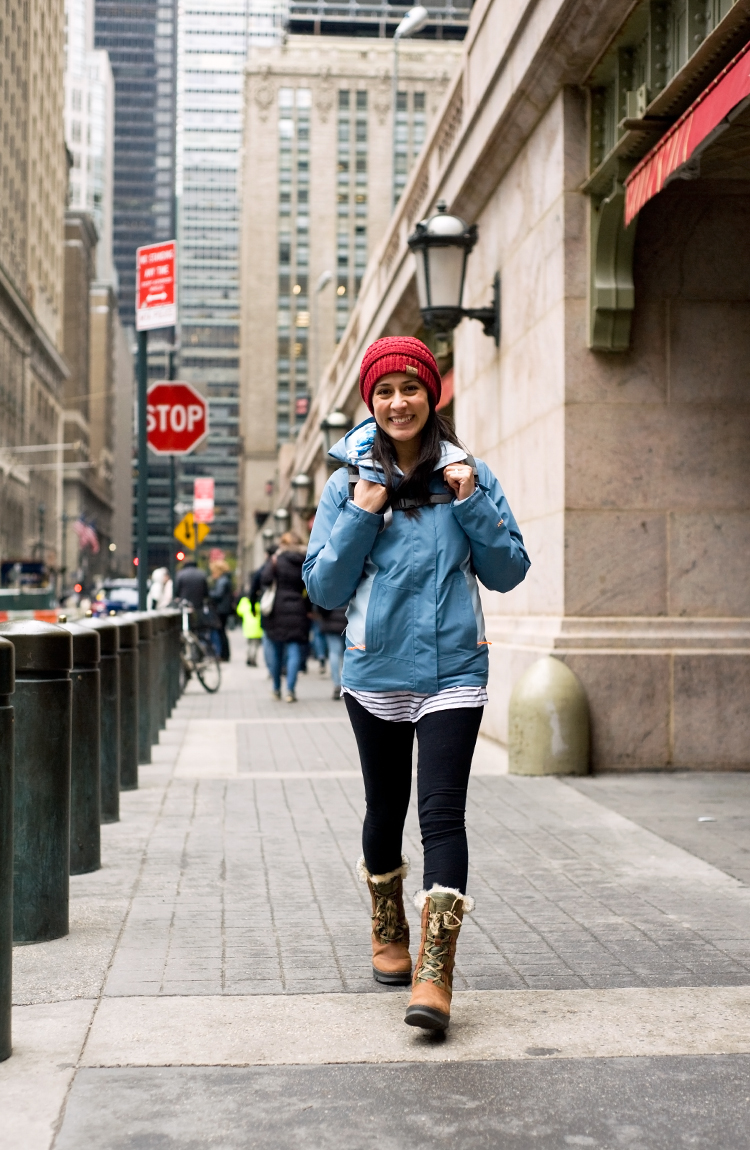
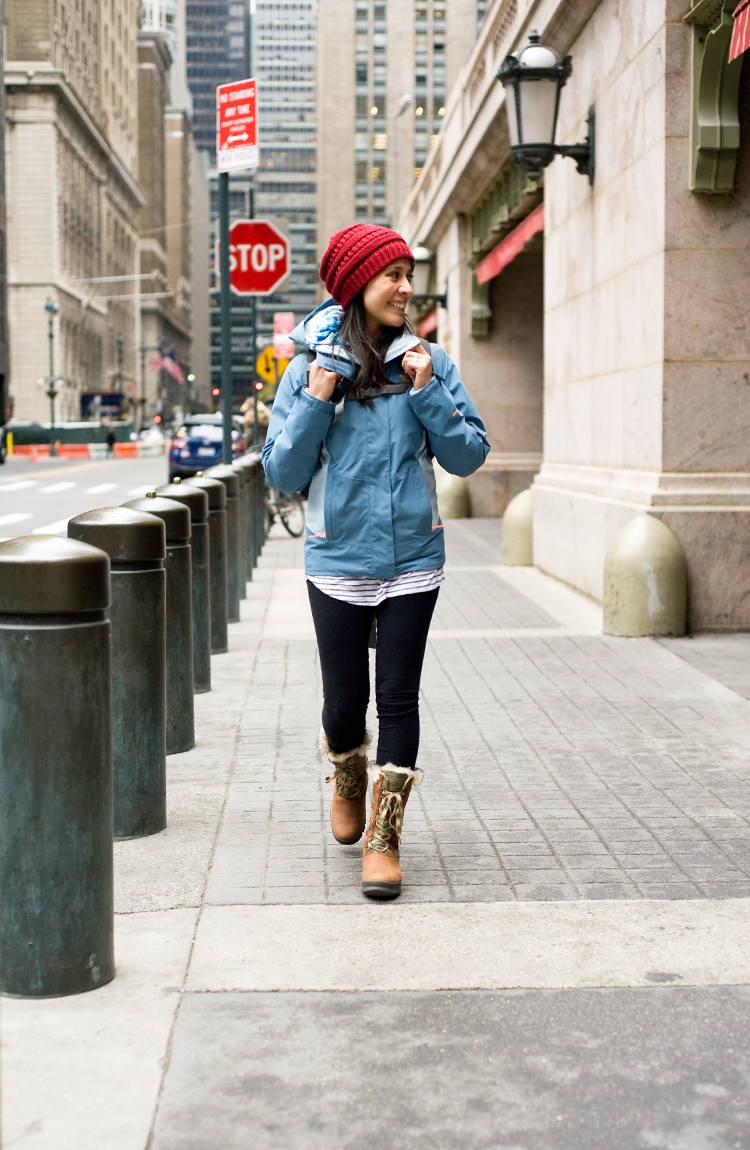
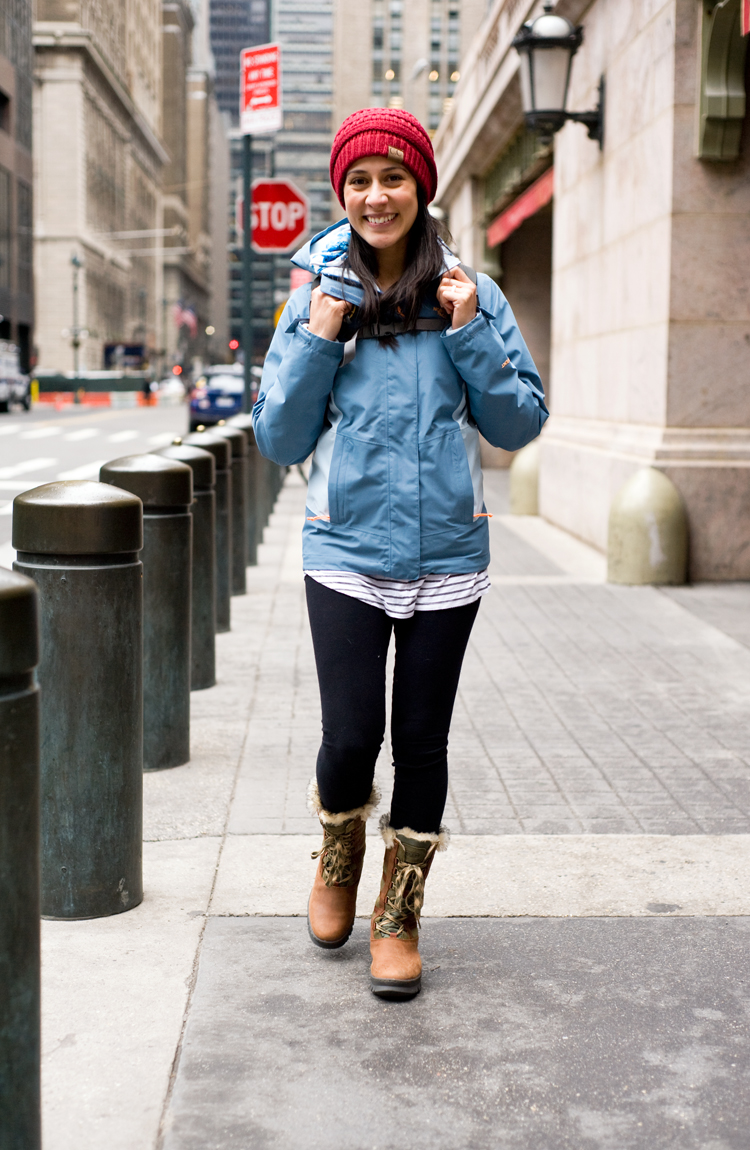
LOCATION: GRAND CENTRAL STATION
OUTFIT DETAILS: Keen Boots || Keen Socks || Fleece Lined Leggings || Long Sleeve Base Layer (similar) || North Face Triclimate || Red Beanie || LowePro Photo Hatchback || Hydro Flask
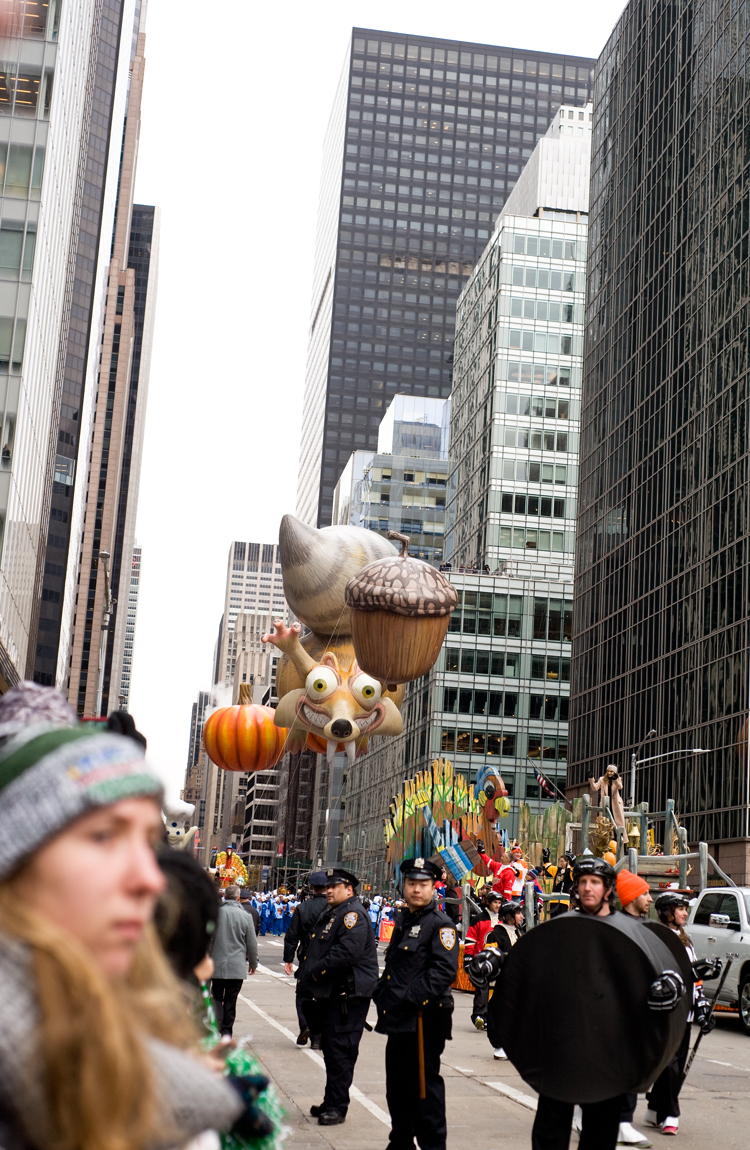
There was this one time that I went to the Macy's Thanksgiving Day Parade and cheered Tyler on as he walked the parade as a balloon handler for Blue Sky's Scrat balloon... ;)
This was our first year at the parade. We figured at some point since we now live in New York that we would venture down one year and experience it all. This year was extra special though, because Tyler was able to be in the parade! His studio had a balloon in the parade and he was selected to be one of the balloon handlers.
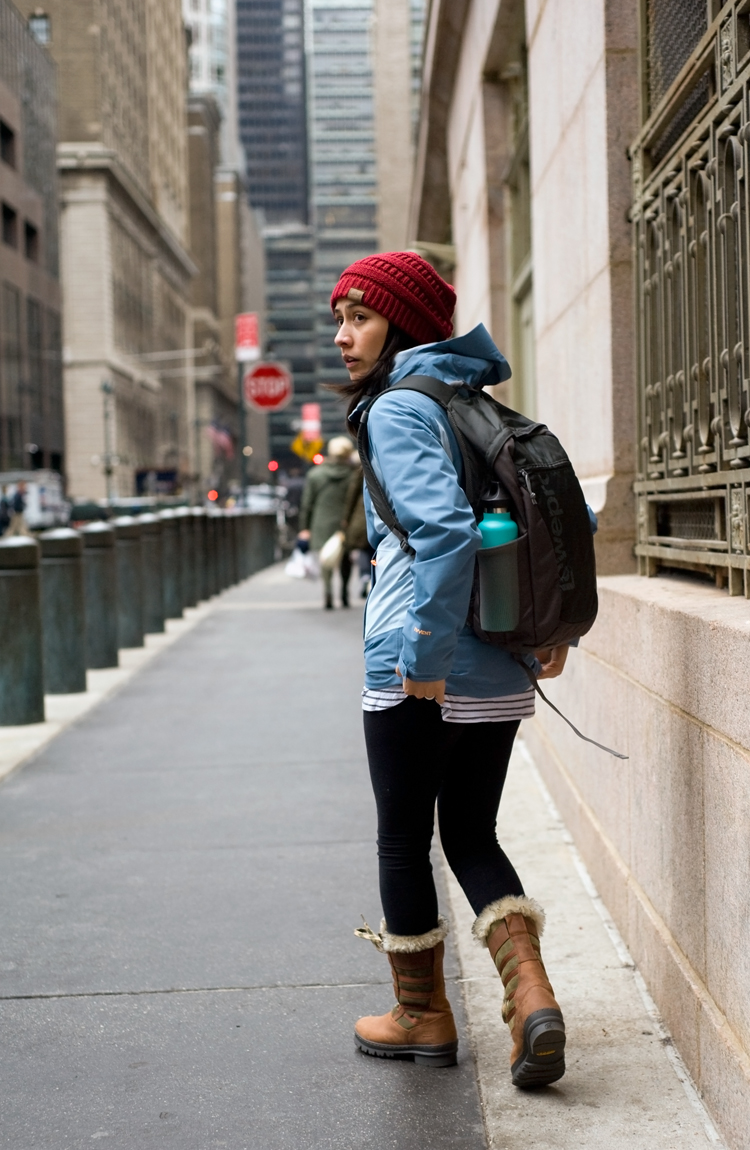
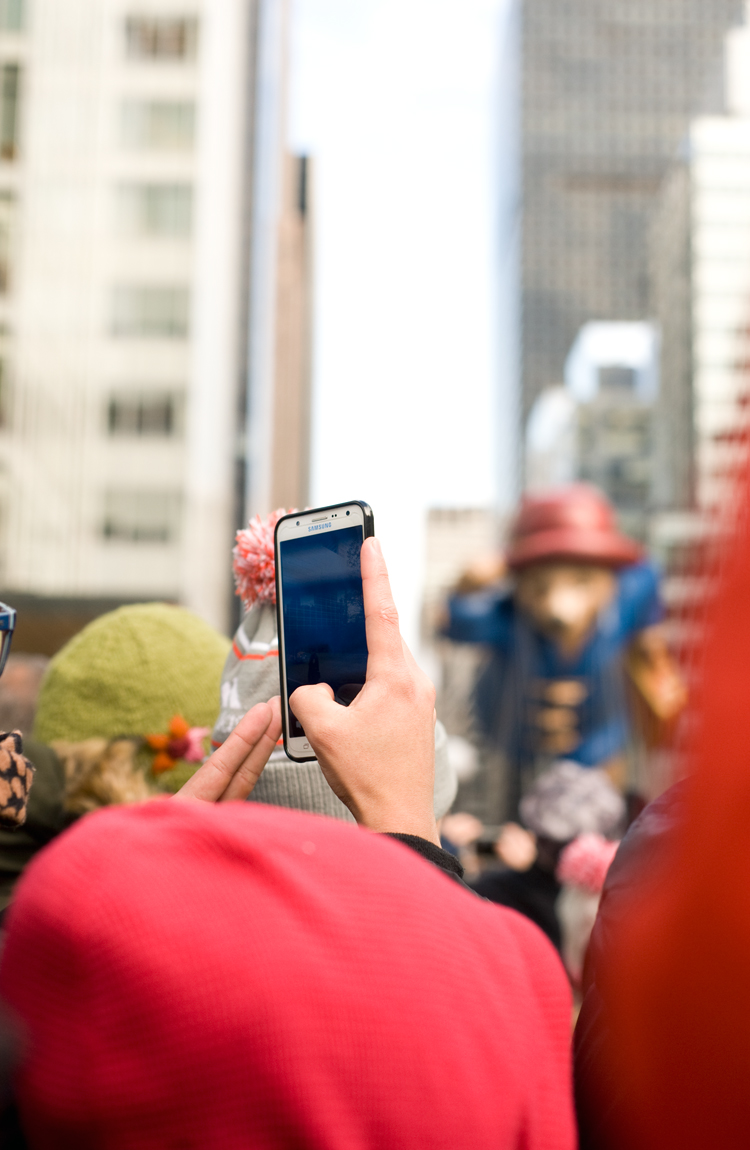
Tyler had to be in the city at 6:30am, which meant we were catching the 4:55am train... it was so early. The city streets were quiet when we arrived and Tyler walked with me to a place in the parade route that I could park and wait for the parade to start. I planted myself right across the street from Bryant Park and then I waited there for the next three hours, haha! I anticipated needing to stay warm so I had plenty of layers on including base layers and Keen socks, ha!
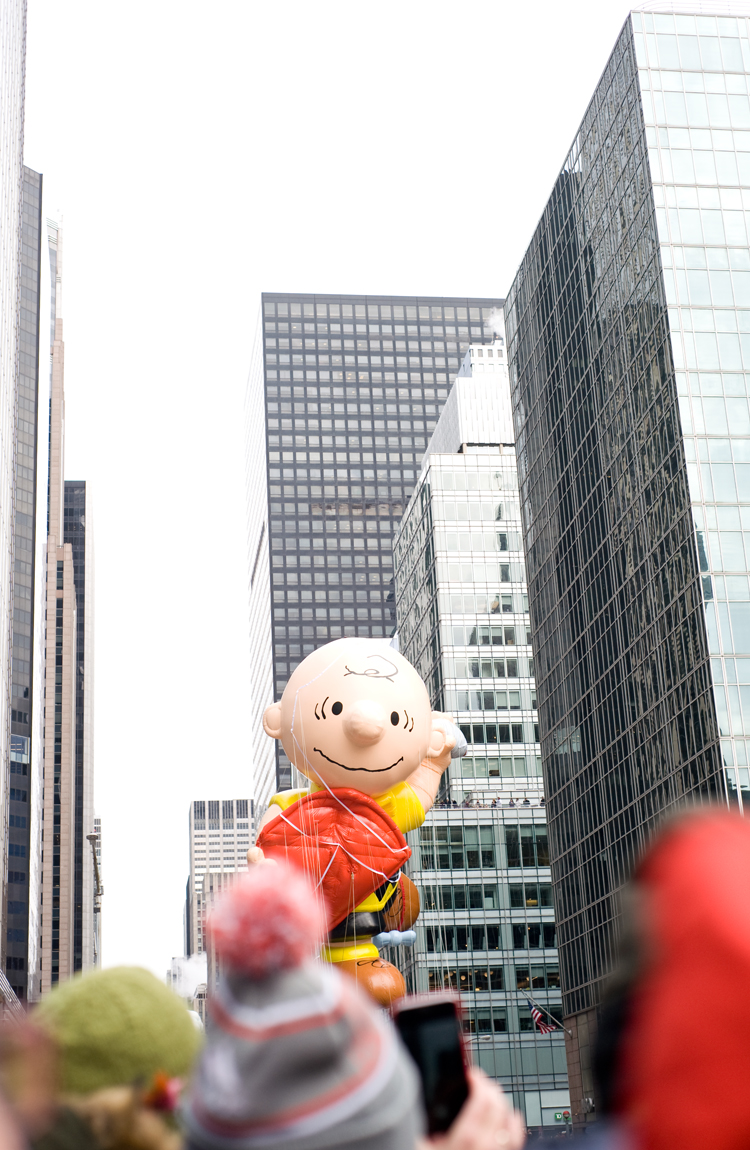
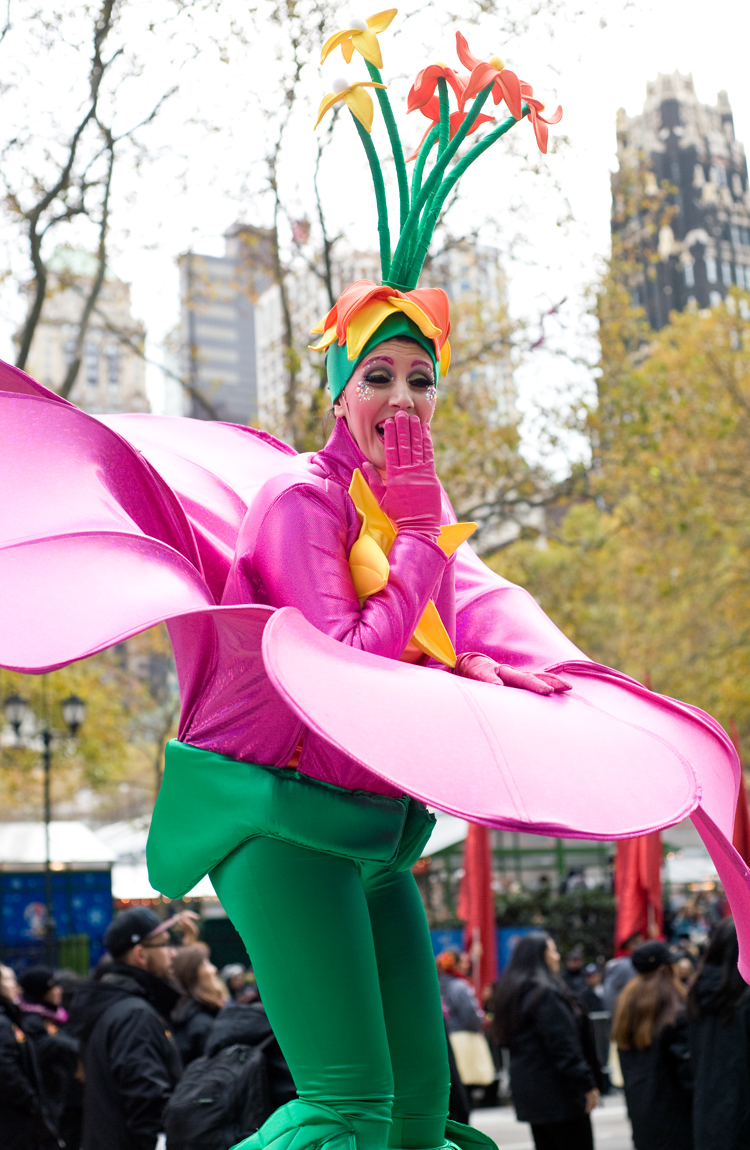
I was thinking about all the different things I wanted to share about the parade, but I didn't want to give away any spoilers for those that may want to go, so I'll share some of my favorite moments. The marching bands were by far one of my favorite things, I think I just really like music and seeing all the kids march along the street blowing their brass horns and drum their drums. It took me right back to high school when my brother was in marching band. The balloons are maybe the best part because you actually get to see how big they a really are. And watching the parade unfold is really cool too. Seeing all the police officers come out and line the streets. Seeing people start to file up along the barricades... it's the little things. :)


TIPS FOR WATCHING THE PARADE
THE EARLIER THE BETTER: As I mentioned above we arrived in the city about 6:00am. We had never done the parade before and I thought I would arrive to the parade route seeing empty streets and just sit there sad and alone, haha! But, boy was I wrong. The parade route was already lined with people... at 6:00am. Tyler and I walked the route only a bit before we found a place across from Bryant Park were we thought I could probably see. There was already a solid line of people in front of the street barricades. Those first row people, as I lovingly call them, arrived at the parade route around 4:30am.
DON'T BOTHER BRINGING CHAIRS: The streets of the parade route get crazy packed and they don't allow chairs. If you show up at 4:30am, you are more then welcome to sit in your folding chair and hold space, but once it's near time for the parade to start they have you fold up your chairs. No chairs mean more people can fit, ha!
BE PREPARED TO KNOW YOUR NEIGHBOR: Getting to know the people your standing near is beneficial because then you at least have someone to talk to. Because I was there alone I felt much better once I made friends with the people I was standing with. They were all very kind, all out-of-towners, and we did our best to protect each others spots as the parade route became more packed. Speaking of the parade route being packed... we were packed in like sardines. When I first arrived I was in the second row of the parade prospectors and we all had plenty of personal space and elbow room. As the parade got closer, and the streets began to fill with more people, everyone started getting way, way closer, haha.
DEHYDRATION IS CONSIDERABLE: Once you arrive at the parade route you really don't want to leave. Once you have made friends with your neighbors they will most likely hold your spot if you need to run to the restroom or grab breakfast but then you have to go through the trouble of actually finding a restroom or standing in line for food. I ate breakfast on the train and had a little bit of water, but once I arrived on the parade route at 6:00am I didn't eat or drink anything until the parade was over and I was back at Grande Central Station. I went about 6 hours without eating or drinking and I wouldn't change it. Some of the ladies I was standing with didn't leave the spots either and they were there a little bit before me.

TIPS FOR PHOTOGRAPHY THE PARADE
FRONT ROW IS BEST: If you are able to get to the parade early enough that you can be in the front row then you're golden. Being in the front row means you can actually look down the parade route and get different perspectives of the parade. Because I was in the second row and kind of short (haha!) I was only able to take photos as the parade passed right in front of me. When Tyler's balloon got close the friends I had made, made room for me to squeeze up into the front row so I was able to snap photos of Tyler's balloon coming down the parade line.
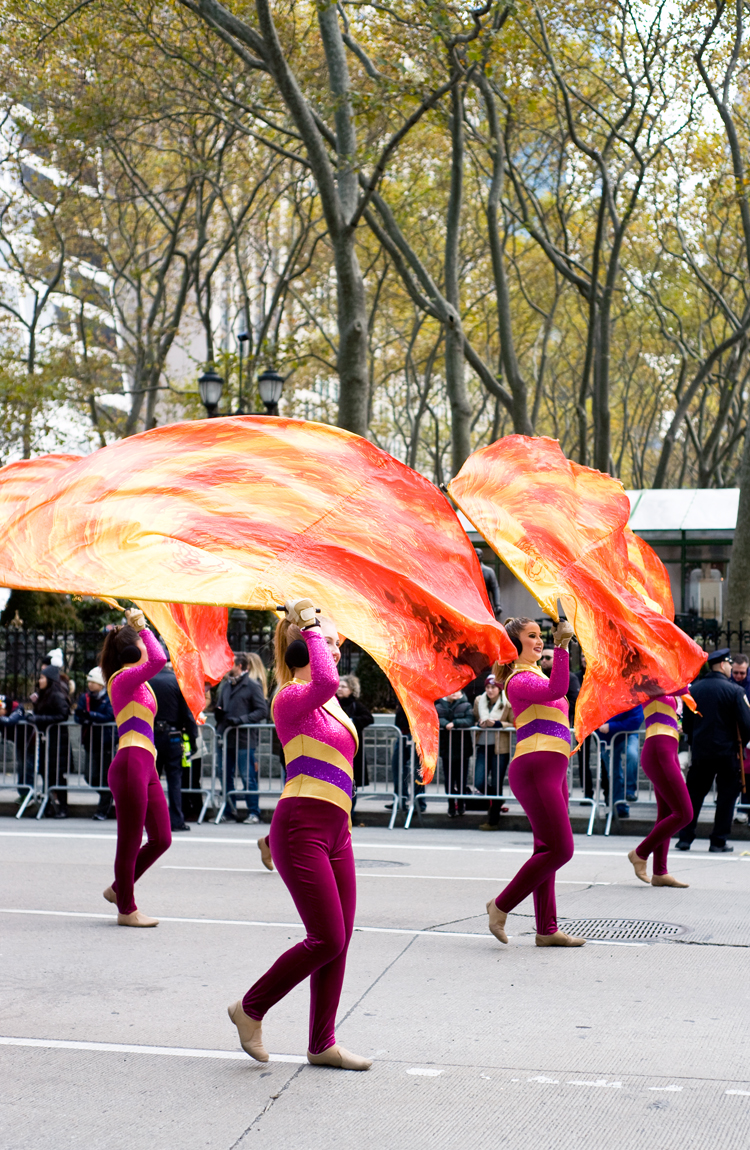
CAPTURE THE ACTION: Some of my favorite photos to take were of the marching bands flag team because I was able to actually capture action in the photo. There were plenty of times when a band or group walked by and they were doing just that, walking. But the times when a group was performing, being able to capture them in action brings your audience right to the parade with you.
BE CAUTIOUS: ... With your elbows, haha! But seriously, things get really snuggling on the parade line. There were a few times I accidentally ran into someone. When things get crowded ask with kindness. There was one time I really wanted to look down the parade line to take a photo. The girl in front of my was standing on the street while I was on the side walk. She was just short enough that I was able to lean over her and snap a photo. I asked kindly before just leaning over her because that would have been creepy, haha!
KNOW YOUR GEAR BEFORE YOU GO: Unless you are taking multiple camera bodies, switching out lenses really isn't ideal. Once I took my camera out of my bag I didn't get into my bag again because it was too crowded. I determined ahead of time which gear I would take and which I thought would best for the parade. I took my Nikon D700 (it's counterpart) paired with my 50mm. Because the D700 is full frame the 50mm is a good pair to get everything in frame. If you are shooting with a crop sensor camera body the 50mm, might be a little tight and I would recommend the 35mm.
Once the parade ends the crowds disperse and everyone goes their separate was. Because Tyler was in the parade he was a part of deflating the ballon. We had planned at meeting somewhere after the parade, versus me just waiting on the parade line. I hung out in Bryant Park once the parade ended, but didn't stay long as it started to rain. I was so proud of myself because I was fully prepared for rain, haha! The outer shelf of my North Face Triclimate is a rain jacket and my LowePro Photo Hatchback has a rain cover. I walked down the city streets towards Grand Central and waited for Tyler to catch our train home. We had the very best time! xoxo. Samantha
P.S. Shout out to Lauren, Tyler's co-worker, for capturing Tyler holding the Scrat balloon!
ADDING SUNSHINE AND GLOW TO YOUR PHOTOS

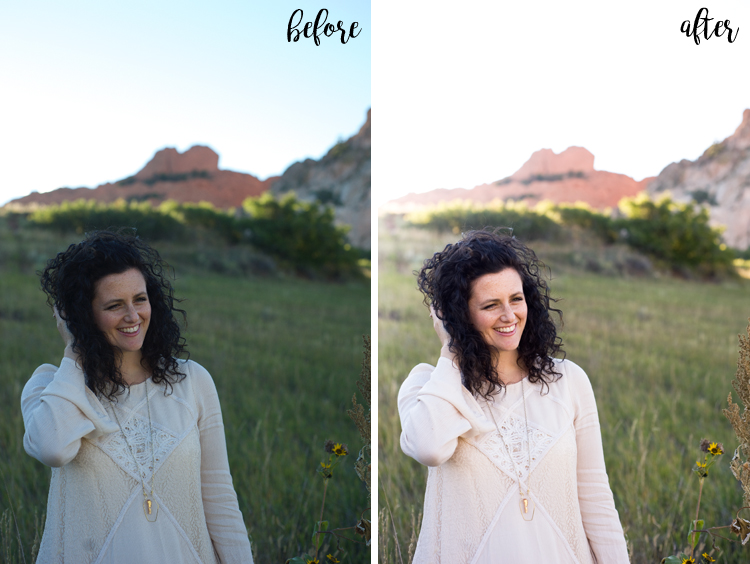
One thing I absolutely love is when I can create and see a huge difference in my post processing. This is always different per session as lighting really dictates how my raw images come out. In todays session you can see a huge difference in my raw file and my post processed file. I get a little giddy inside when I've made such a difference in my photos.
This session was apart of the the mountain photo session we did in Colorado. You can see Beth's here and Meg's here. My goal in processing this session was to create the same kind of lighting and ethereal feel that I had done in Beth's and Meg's session even though the overall lighting was different. Amy's session took place at the end which meant the sun was considerably lower in the sky, meaning her photos were a little darker and far more green then I wanted.
WHITE BALANCE & TEMPERATURE
For this set of photos I went through these 8 steps. In short I adjusted my white balance and temperature. For these photos I needed to warm them up and remove a lot of the green and blue tones. This is easily done by adjusting the white balance and making the photo a little warmer. To remove the green tone I adjusted the temperature and increased the magenta tone in the photo.
From there I increases my exposure and brightness. Adjusted my contrast, clarity, and vibrance. And occasionally I'll increase my blacks to increase my saturation.
ADD A GRADIENT
Now let's talk about how we can add the allusion of a little bit of sunshine. I haven't always used gradients in my photos, but I have been using them more and more for all sorts of things. For these photos I wanted to add the allusion of a little bit of sunshine streaming into my photos. Not a lot, but enough to add a little bit of glow. Both Photoshop and Lightroom have a gradient tool so you should be able to play around a little bit to become more comfortable.
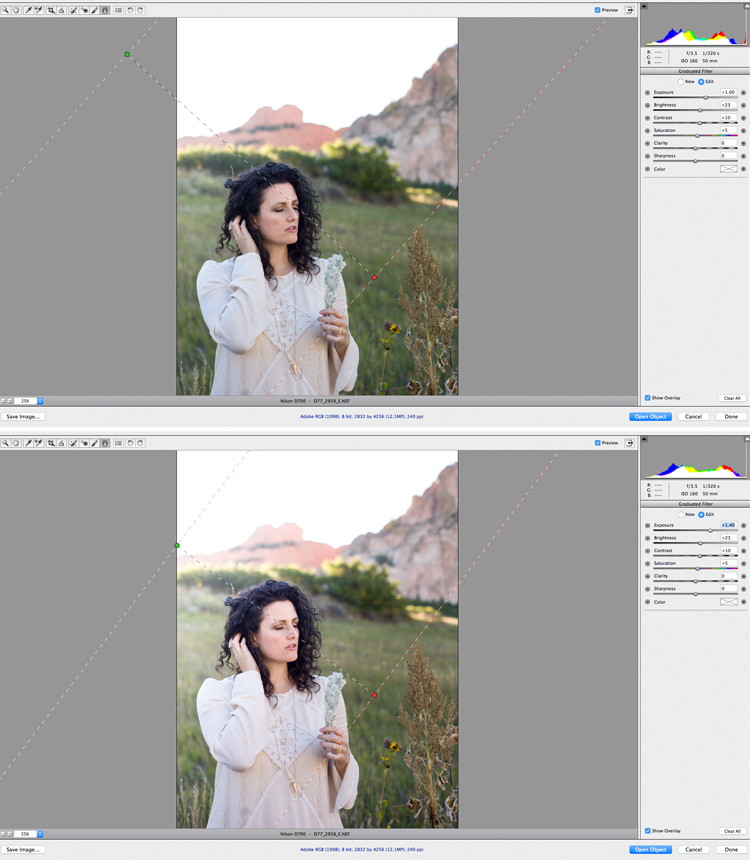
Below you'll see an example of adding a gradient to photos. With a gradient I can adjust the exposure, brightness, contrast, saturation, and clarity of a specific area of my photo. See my gradient below? I knew where the sun should be streaming into the photo so I added a gradient to the top left portion and increased the exposure and brightness in the top left portion of the photo. The gradient works so that the increase in exposure and brightness fades into the photo.
Look at the two examples below. I added a gradient in the first example but I didn't feel like I was getting enough "sunshine" in the photo as I wanted. I adjusted my gradient in the second example and you can now see how it looks like more sunshine is streamy into the photo. Adding gradients is a perfect way to add a pop of sunshine to your photos. :)


Processing and editing photos is journey and a real learning experience. I edit photos completely different now then I did when I first got started. Editing photos is also very subjective. My style of editing can be completely different then another person style of editing and they can both be beautiful photos. We all have our own style and preferred way of editing. It's all about finding our own groove. xoxo. Samantha
CAPTURING REFLECTION IN YOUR PHOTOS

We're back with another quick tip Tuesday! One type of photograph I have always wanted to capture was one like you see above. I would see others capture beautiful photos with amazing reflections and for some reason I just never figured out how those types of photos actually happened. I actually look this same photo last year, however it did not look like this. The first time I took this photo I used the same techniques I used when shooting portraits and it just didn't work.
Most mornings we drive by this view. One morning I decided the next time I drove by I would have my camera. So there I was camera in hand, blue cloudy skies, and beautiful Fall colors. Within about 10 minutes I had a handful of beautiful Fall photos with the reflection I had always wanted.
"THE WATER HAS TO BE STILL"
The following day Tyler and I drove by again, but there was no reflection. My brain just didn't connect why I could't see the reflection, so I asked Tyler, "why isn't there a reflection?" He replied, "the water isn't still, for you to be able to see the reflection the water has to be still." And that's when it all clicked. There were too many ripples in the water for me to see the reflection.
Are there other factors that go into taking a great photo with a reflection?... absolutely. But the main factor of actually seeing and capturing that reflection is the stillness of the water.
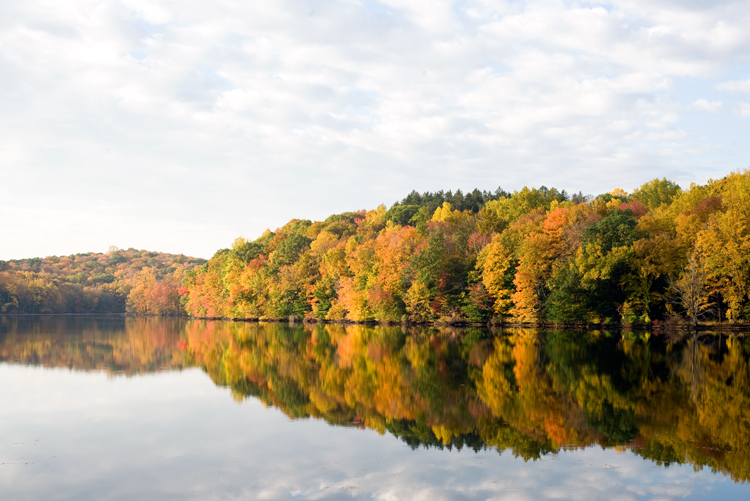
Every time we pass by this view I look to see if I can see the reflection. Sometimes the water is still and the reflection is crisp and clear. Other times there are ripples in the water and I look to see if I can see the reflection through the ripples. xoxo. Samantha