
THE ARCHIVE
FLOATING BEDSIDE TABLES FOR TINY LIVING
* this post contains affiliate links *
We’ve lived in very expensive places in the USA needless to say, we’ve unintentionally become tiny living enthusiast. When cost of living is high and you’re trying to pay off student loan debt, you get incredibly good at living small and doing without. Our first tiny house experience was when we moved to New York and we lived in a 325sqft cottage. After that, we moved into a small apartment, gained a few more sqft and a bedroom. I was over the moon happy to have a bedroom.
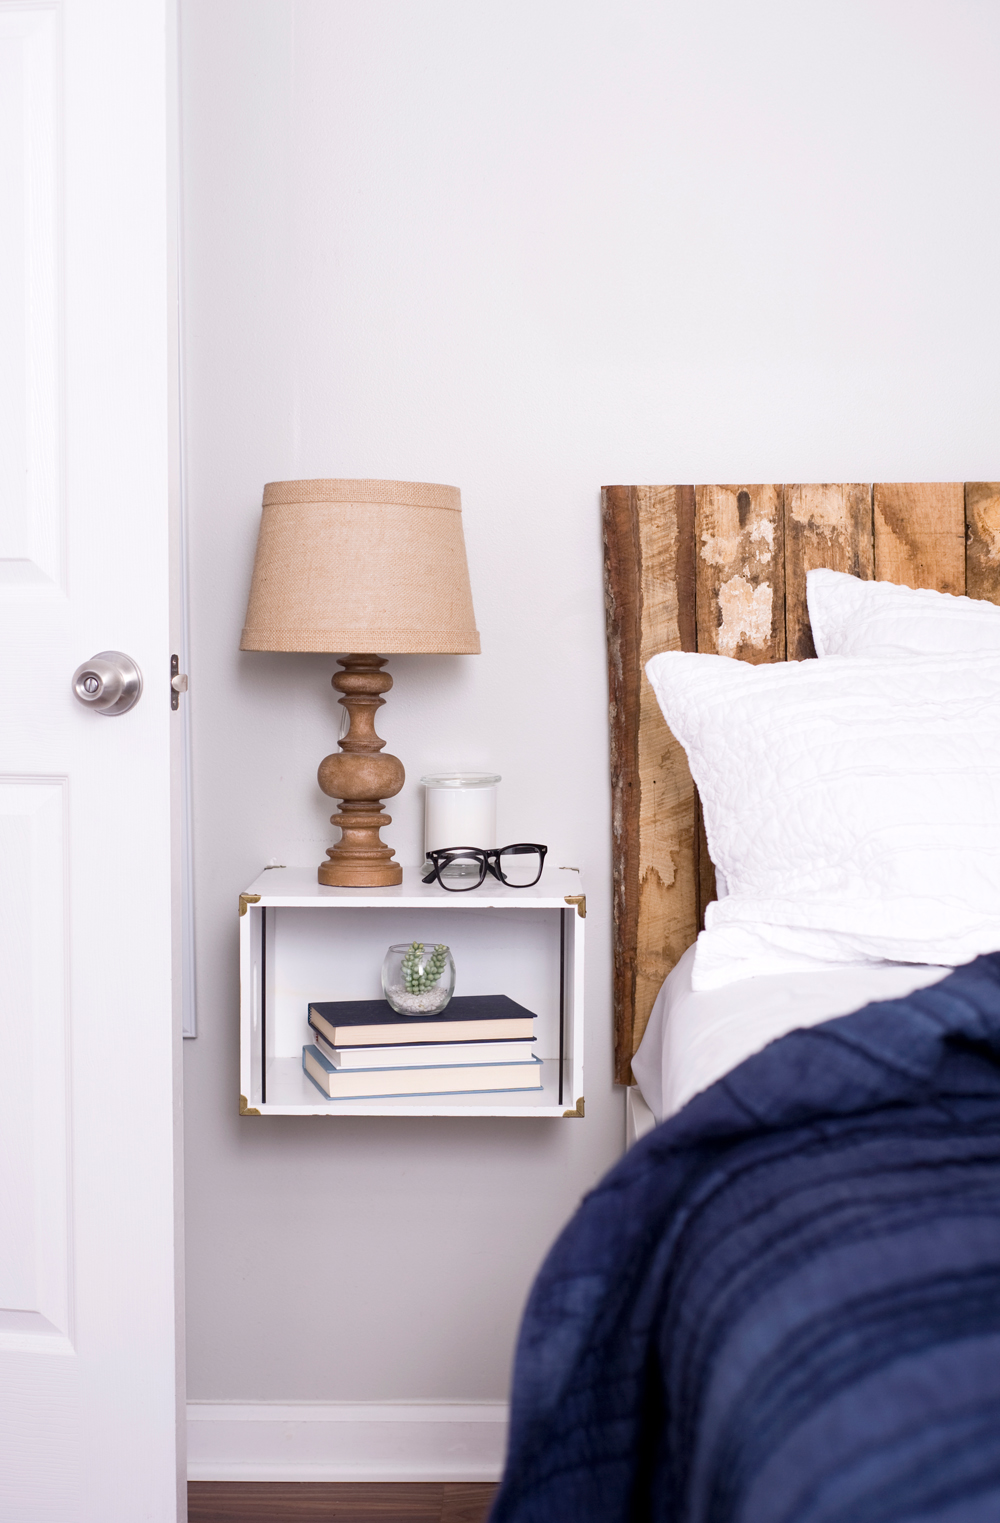
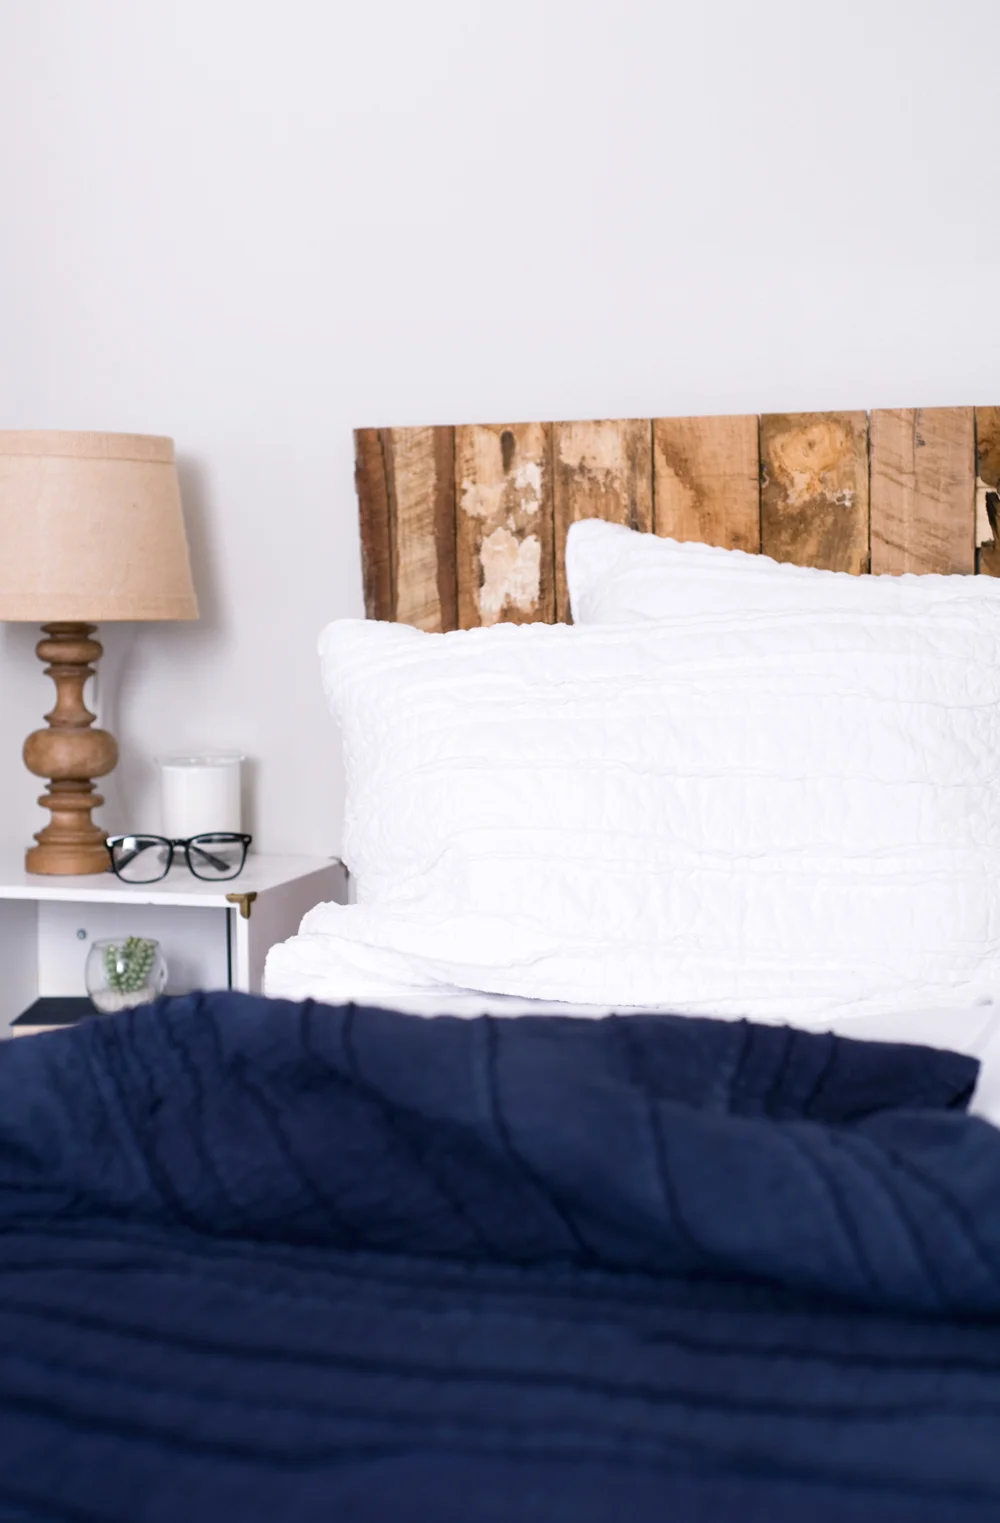
While our space is tiny and we’ve given up things like a conventional stove and oven, we’ve figured out how to really make things work, and keep our stuff to a minimum. Because our space is limited we get creative with furniture or the lack of furniture. When we went looking for a new bed frame we knew we needed something with storage and we found this Brimnes storage bed from Ikea and it was perfect. The large drawers meant we could avoid having a dresser, saving us space in our bedroom.
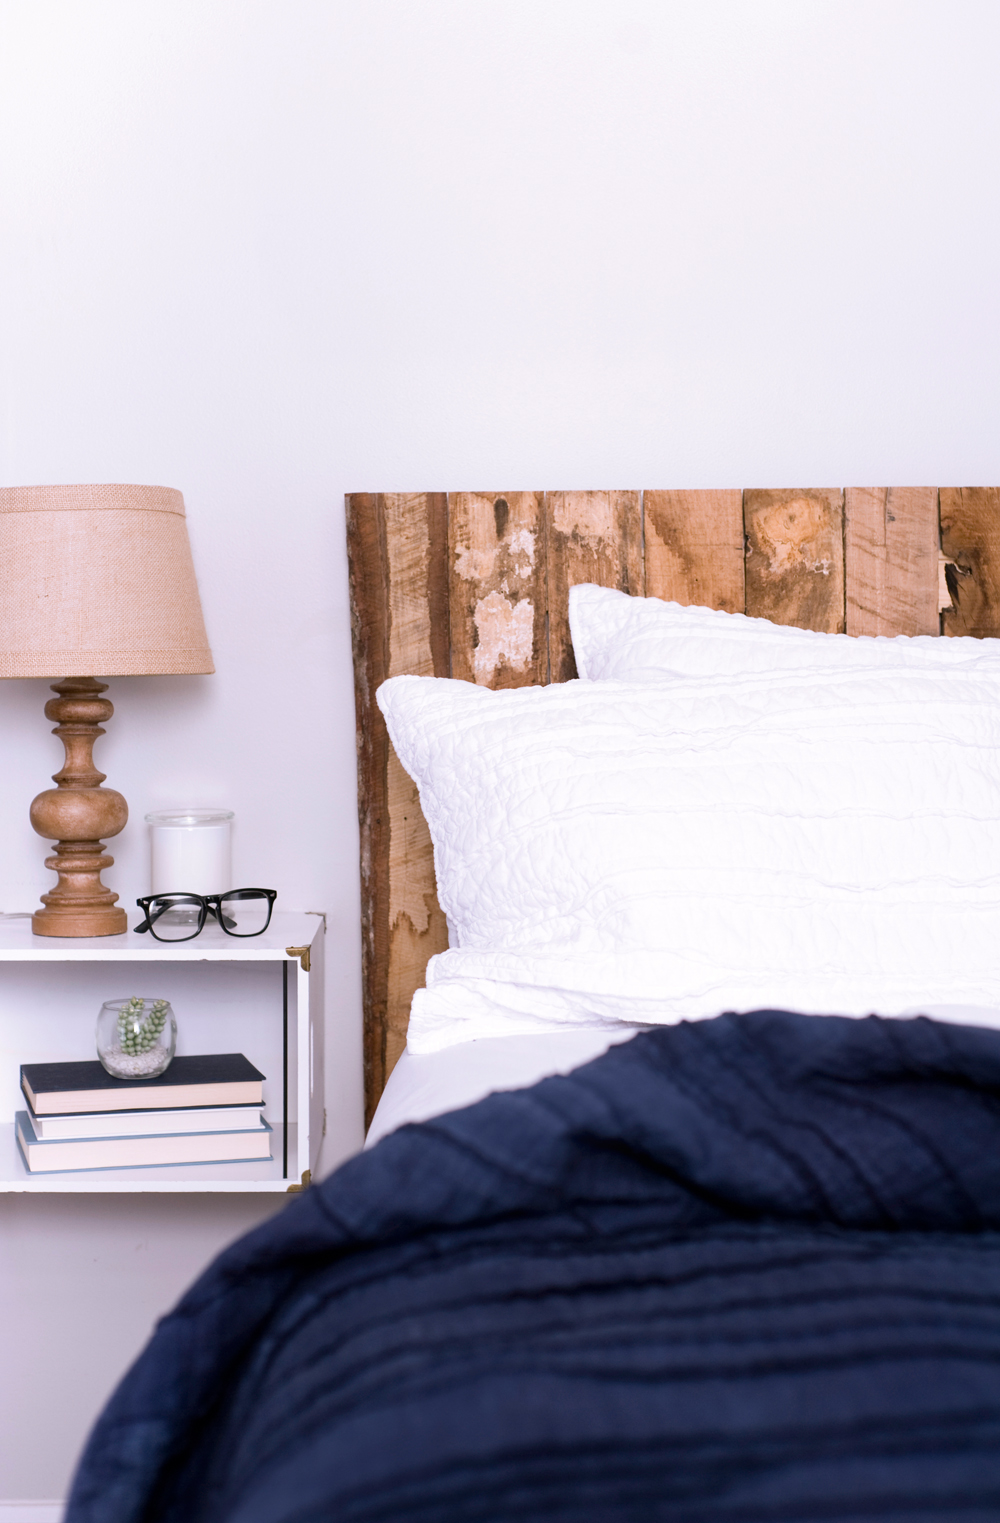
Our next step was to figure out some kind of bedside table. We wanted to find something inexpensive, easy, and that would work with our bed. We knew we had to find something that we could easily attach to the wall, and allow us to open the drawers in our bed. We headed to Target and found something perfect, a wood file organizer. In its simplest form, it’s a wood box and that was just what we needed. Installation was easy, we simply anchored the crate with a few screws to the wall.
We have loved these creative bedside tables and I found some amazing alternatives that I think y’all will love. Wood filling or organizing boxes are easy to find and they are just as easy to paint to suit your decor aesthetic.
FLOATING BEDSIDE TABLES FOR TINY LIVING
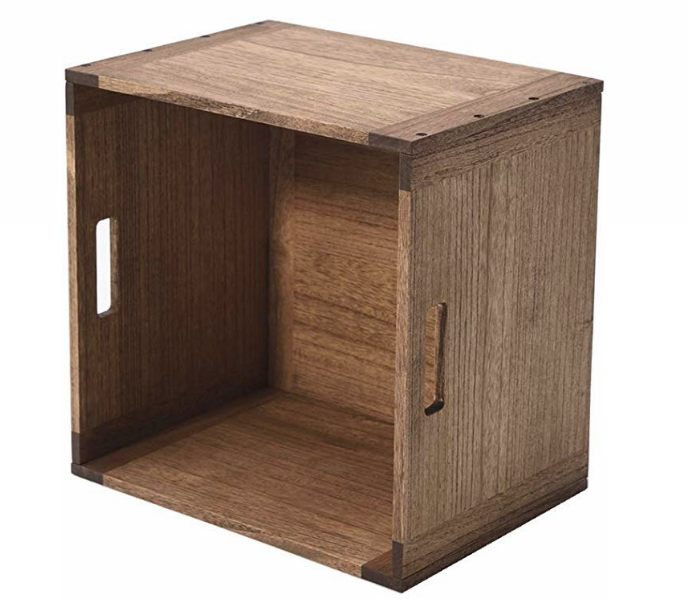
Organizer Crates : This crate is just like the one we have, it just needs a coat of paint. This one is super fun and creative with the wood slates.
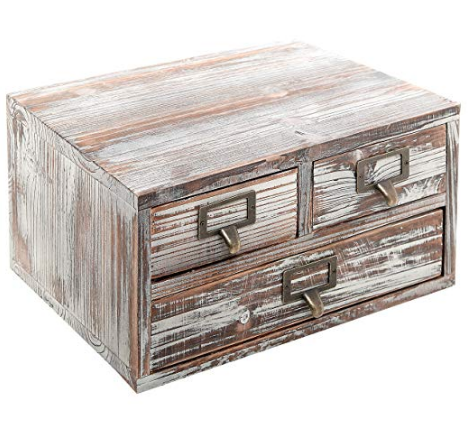
Wood Storage Cabinet : I stumbled upon this wood organizer and thought it was so cute and perfect as a bedside table. I love the little drawers in it.
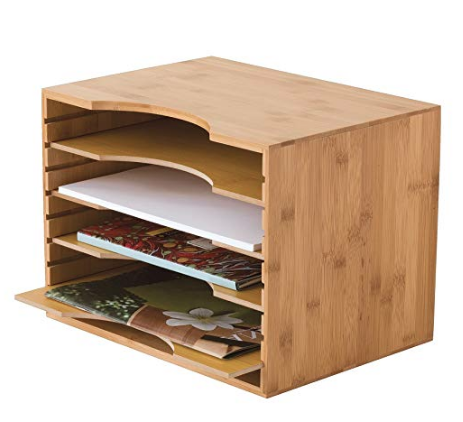
Wood File Organizer : This wood file organizer is another amazing find that would work great as a floating bedside table. Again, this could easily be painted any color.
Keep in mind that all of these options are on the smaller side and are ideal for small spaces. We have a full-size bed and our bedroom is small too, so having small bedside tables worked for our space.


A JOURNEY IN CUSTOM SIGN MAKING
Not my journey of course, but Tyler's journey. ;) Guys, I'm still talking about Christmas things, just go with it, okay? For Tyler's side of the family we all draw names for Christmas and buy gifts for that one person. This year Tyler got his brother-in-law for Christmas and he decided to make him a custom painted sign. Tyler had been wanting to do a project like this for awhile and he was really looking forward to having it all come together.
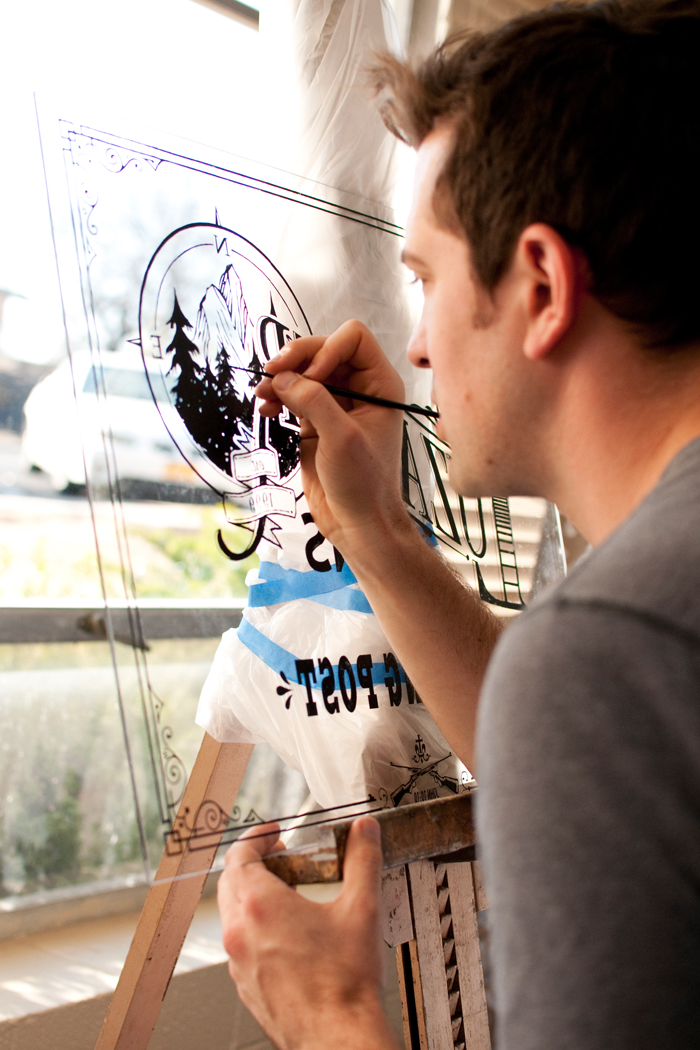
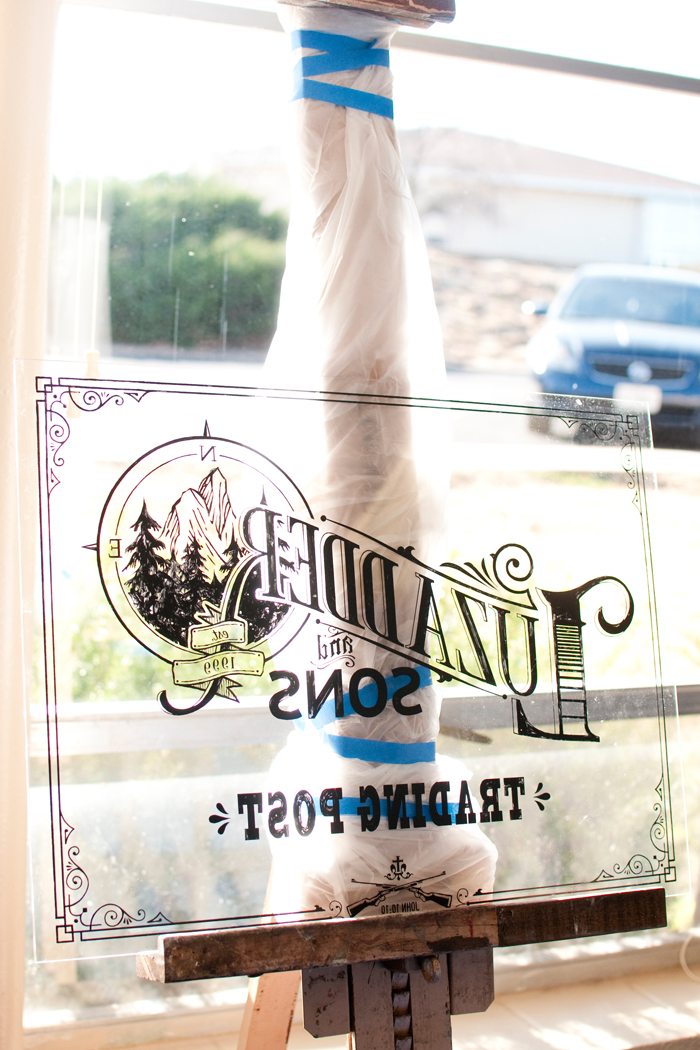
Tyler chatted with his sister about some ideas for the sign and how big they wanted it. Tyler needed the dimensions for the design and for the supplies to build the frame as well. Before Tyler moves forward with any type of project he sketches it out. He'll sketch and sketch and sketch until he as a solid blueprint for going forward. For this particular project, after he was finished sketching, he completed the design in photoshop. Once he was finished with the photoshop design he printed it out in sections. Tyler planned on painting the design on to a large piece of plexiglass.


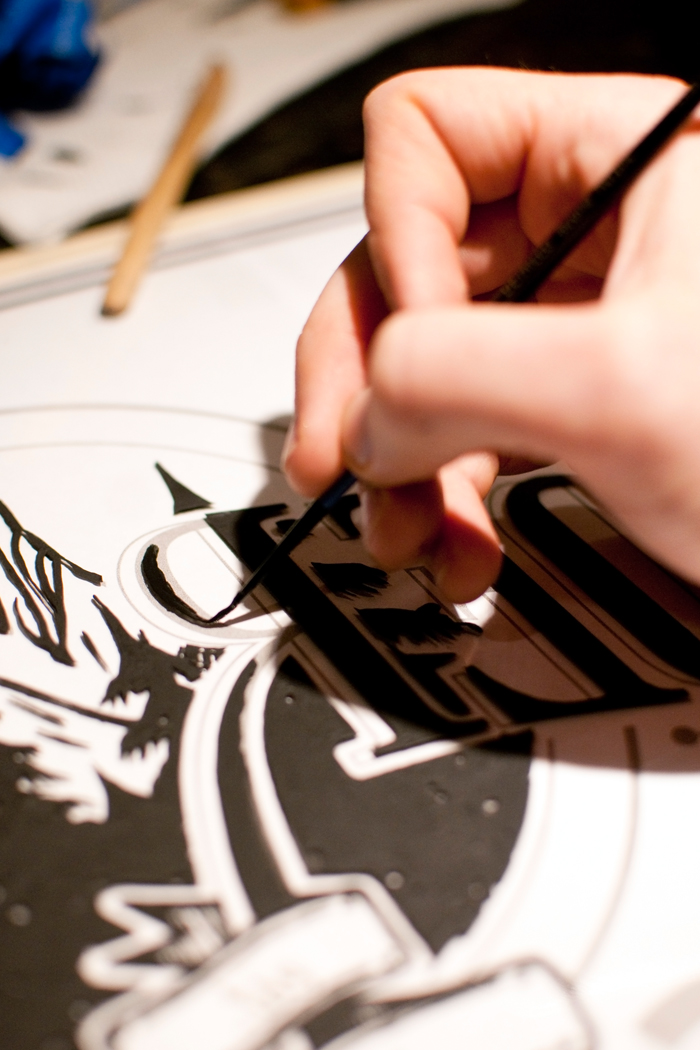

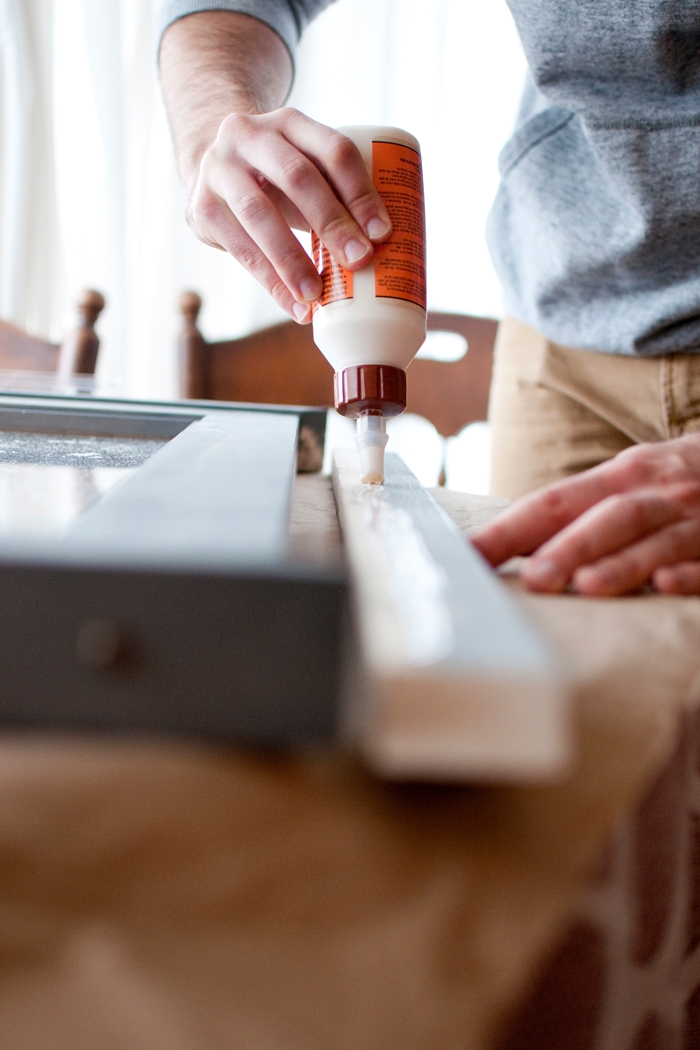
Once everything was designed... and printed... and cut... and attached to the plexiglass, Tyler started painting. Tyler started this project a few weeks before we left for Christmas, so many of his nights after work were spent painting. The process was long, as the painting was very detailed and precise. Before we left for Christmas Tyler also built the frame for the sign. He cut and prepped all the pieces so that we could load them in the car and it could be assembled once we arrived in Joplin.


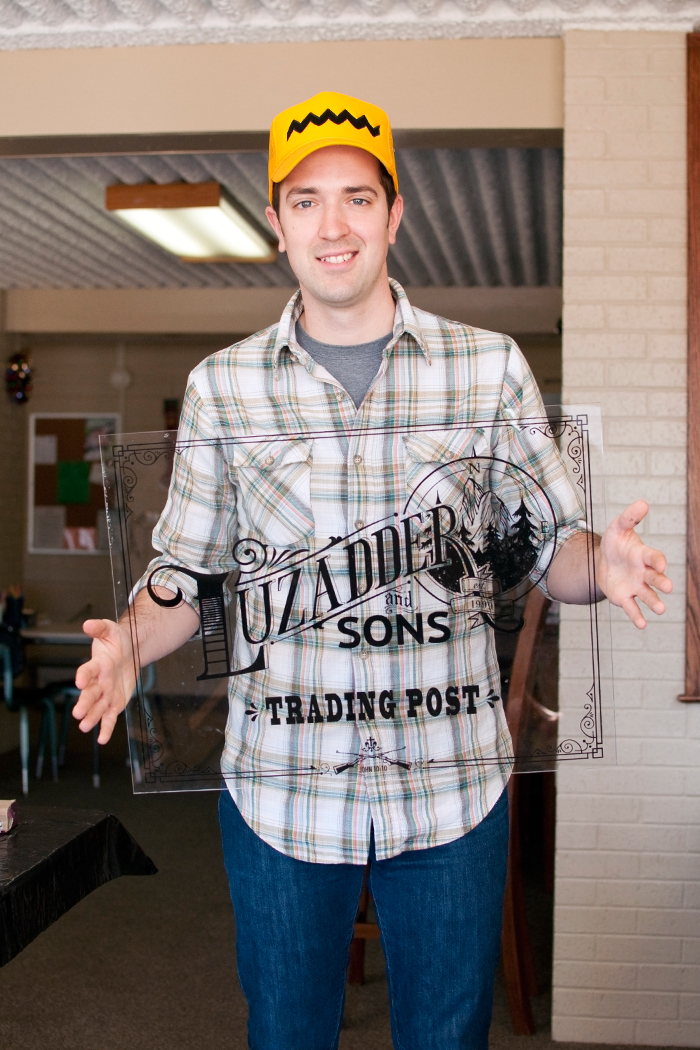
It was while in Joplin that the final details all came together. Tyler finished the painting. I even helped a little too, ha! ;) Not on the detailed stuff, of course. But I did help fill in all the large black areas to make sure everything was solid. Tyler's sister stained the frame once we got there and once it was stained Tyler assembled it. Between his mom's place and my mom's place it all came together.


That seemed like a short synopsis of the process, but you get the idea, right? ;) Even though I didn't paint it or build it, I still feel like I was a part of it. Tyler is always coming up with and creating great pieces of art. I think it's so cool, I wish I could create like he does. He always tells me I can and I know he's right. It would just take lots of practice and lots of hard work. Tyler just makes it look so easy. Have you or any of your friends tackled a project like this? What was your favorite part? How did it inspire you? xoxo. Samantha
DIY GUEST WELCOME BAG

One thing that Tyler and I really love is making other people feel special or doing special things for them. One of my favorite things is learning people and finding out what their favorite things are so we can surprise them with it later.
A few weeks ago I decided I wanted to make a special guest welcome bag for Meg when she arrived and since she was here this weekend I thought I would be so fun to share it today. When we started gathering the goodies for this welcome bag it all started with Bath and Body. We were there picking up candles and that's when I decided to make a welcome bag. Because, you know, Bath and Body has those really cute travel size lotions and sprays.

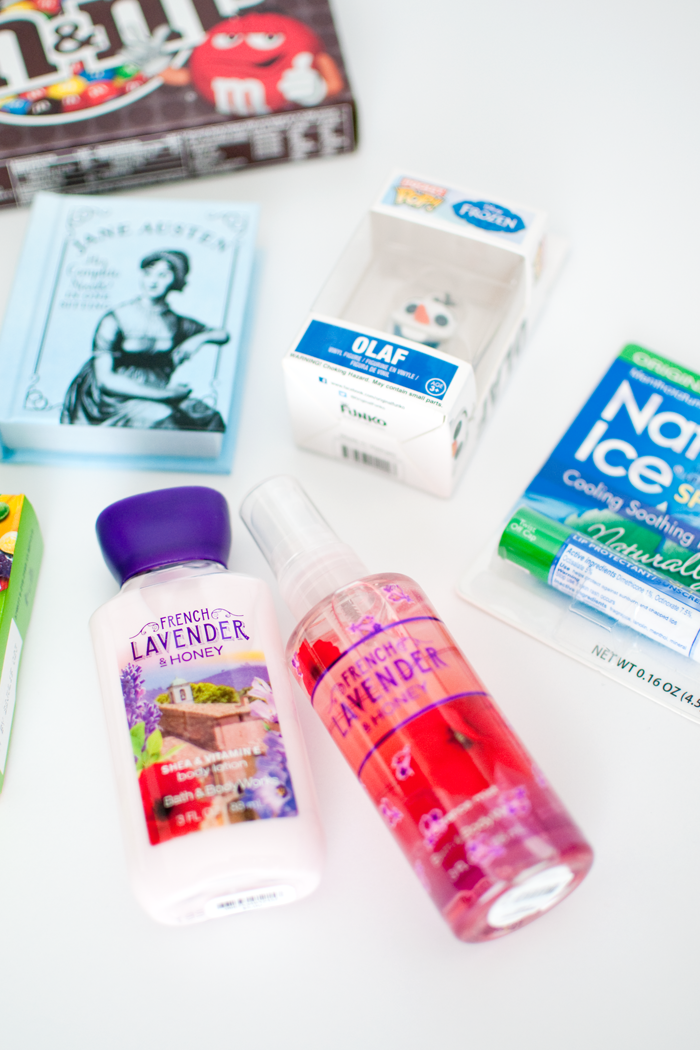

After we had the Bath and Body goodies we picked up a fun size Jane Austen book from Barnes and Noble as well as a little Olaf Pop! So cute! I finished off the goodies by picking up some of Meg's favorite candy. No goodie bag is complete without some sweet treats.


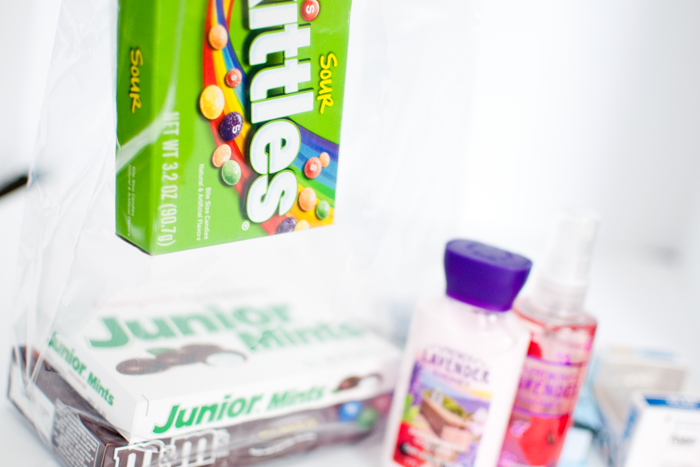


I put all of the surprise goodies in a Bath and Body clear bag and sealed it with a red bow. It took a few times to get everything inside and still looking cute. Once it was finished I gushed at how cute it was and wished I had one for myself. ha!


We really love welcoming people into our home and creating welcome bags is such a great way to do it! Do you create welcome bags when you have visitors? What are your favorite ways to welcome people into your home? xo. Samantha
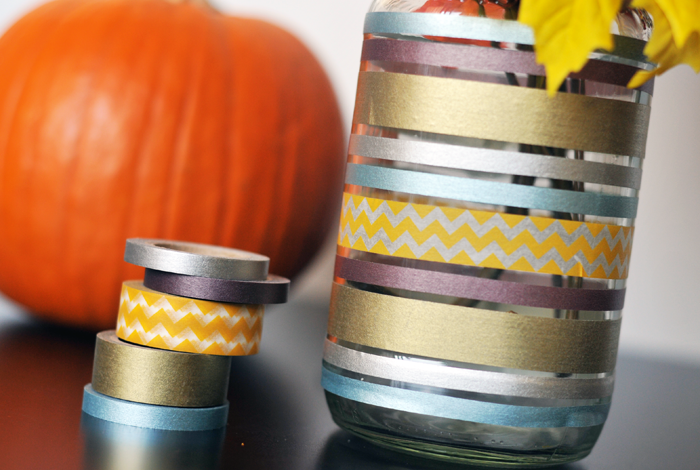
DIY WASHI TAPE MASON JAR VASE
My favorite types of projects are the ones that come together quite easily. Projects that only require a few supplies, projects that can be worked on with supplies I already have. If you're looking for a quick and easy DIY project this is the place for you, because that is how I roll.
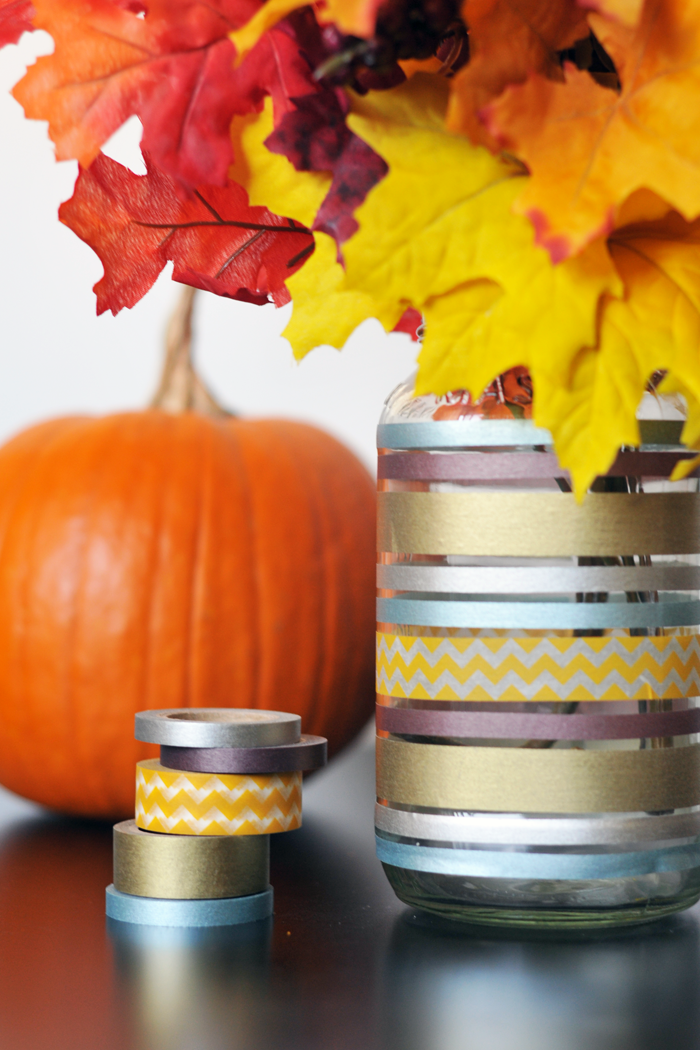
Here in SoCal the leaves don't really change and the weather only cools a little. No seasons in SoCal, people. So one day I decided I would pick up some fake Fall leaves and when I got home they went directly in a mason jar. I had my Fall leaves and I had my mason jar. The one down fall, those fake stems aren't super cute and I wanted a way to dress up the mason jar.
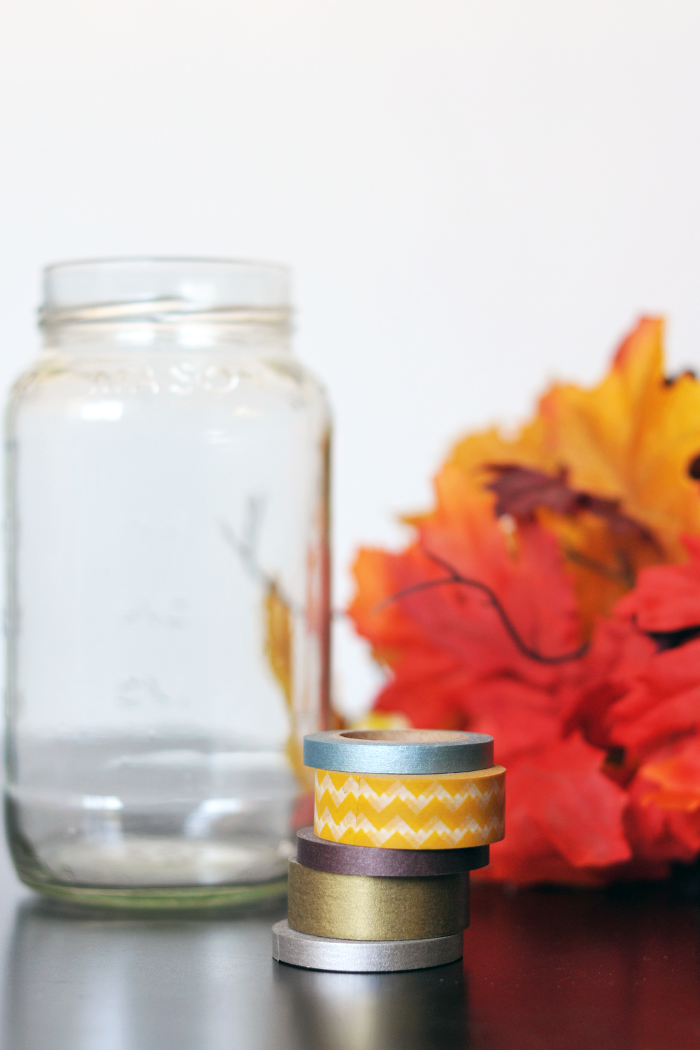
I thought about spray painting the jar gold with spray paint. I really do love gold spray painted jars, but I wanted something that I could change, something that wasn't permanent. And then I thought, washi tape! Yes! Washi tape is perfect! It would add some fun color, but I could still remove it later. This project is so easy too. All you have to do is pick out your washi tape and add a design to you jar.


Easy peasy! Right? I love how this jar turned out, quick, easy, and super adorable. How is your holiday decorating coming? Are their any items you could dress up with some washi tape, share your projects with us! #ElahTreeProjects xo. Samantha