
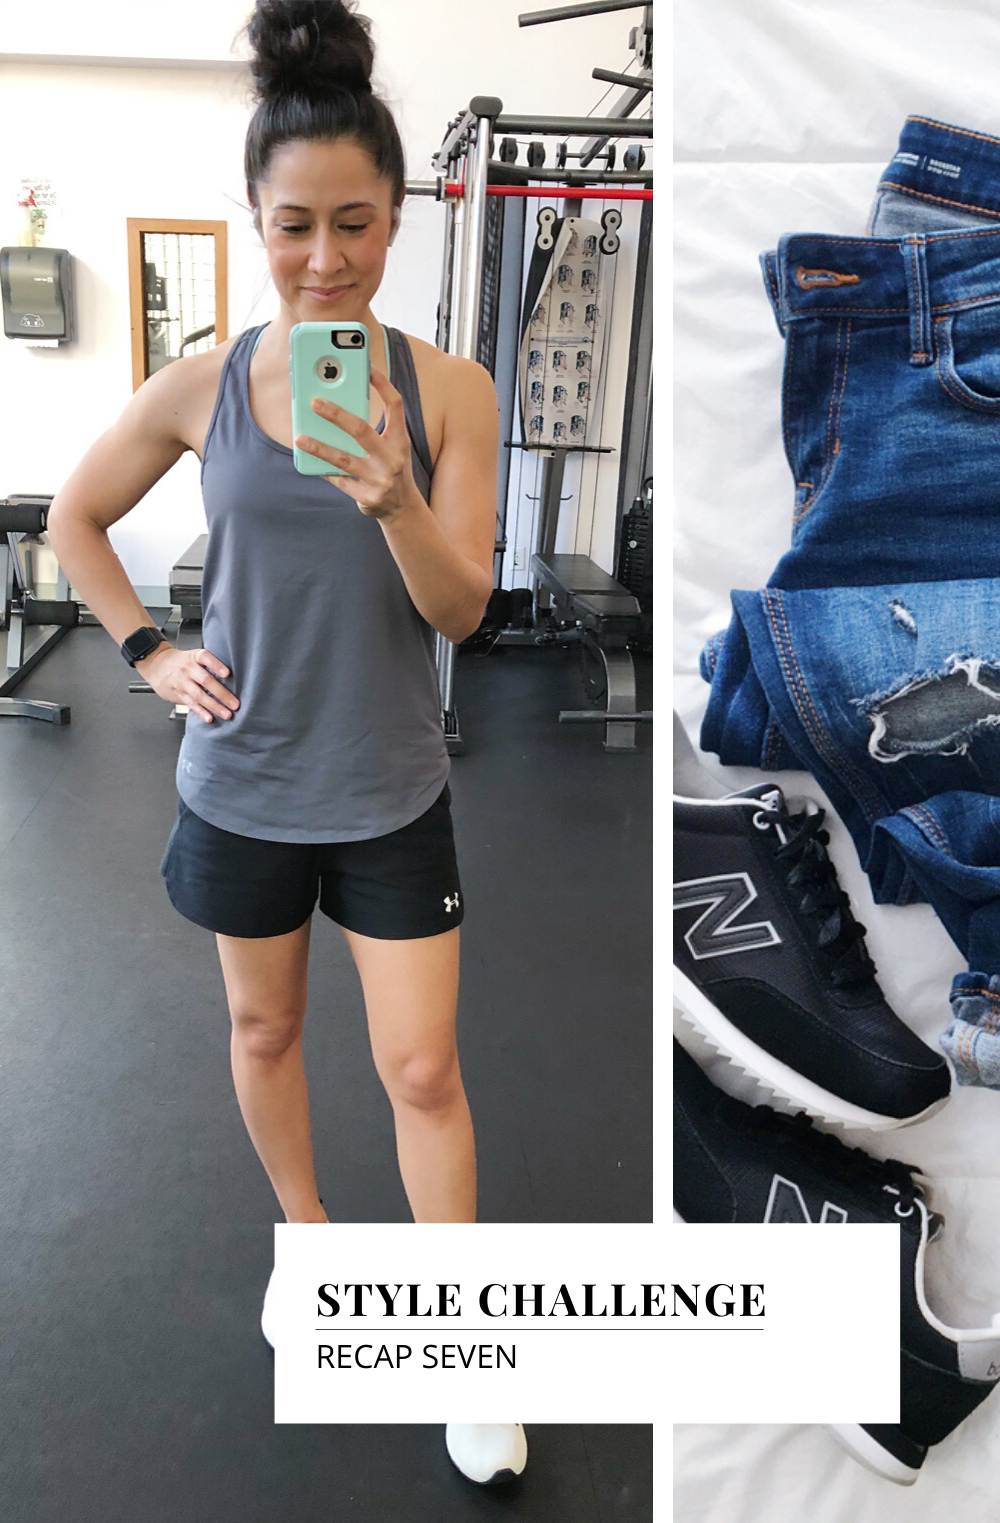
THE ARCHIVE
WIDE OPEN SPACES: SHOOTING IN MANUAL TIPS

I never knew I would love photography like I do. I never knew capturing light through my lens would bring me such joy. I'll take photos any time of day, but if I can shoot during the golden hour, I'm one happy camper. A lot happens during the magic hour that really adds to my photographing and it's all about the light. Golden hour light is soft, it glows, and it makes the subject of the photograph glow too. It took me a long time to capture photographs the way I do today, but one thing that has remained consistent is shooting in manual.
I'm far more comfortable shooting in manual now then I was when I first started, but it was shooting in manual that taught me about light. Shooting in manual taught me photography. I never understood why my college professor harped on shooting in manual, but I understand the importance now.
UNDERSTAND WHY
Understanding why you're shooting in manual will help you understand it's importance. Shooting in manual forces us to take in all the different aspects of our photography process; from where the sun is, what the light is doing, where our subject is positioned, and how we want to compose our photo. We have the option to shoot in auto, or shutter priority, or aperture priority, but those settings don't give us full control over our picture making and that's what we need. We need to be able to control all the settings to create the photo we want.
Let's break down an example. If we choose to shoot in aperture priority, we pick our aperture, and regardless of what aperture we choose our camera will choose the shutter speed, the ISO, and the white balance. Say we begin to shoot an hour before sunset. We decide we want to shoot with an aperture of 2.8 and we spend the next 2 hours shooting. If we continue to shoot in aperture priority, without evaluating the light, then by the end of our photo session, the photos we create may not be what we want... and this is why.... When we shoot in aperture priority our cameras chooses our ISO and our shutter speed. As we loose light during our shoot our cameras may pump up our ISO resulting in un-wanted grain in our photos or poor lighting.
When we shoot in manual we are forced to evaluate our lighting as our photo session progresses. We know how long or short our shutter speed can be before the subject starts to ghost. We know how much light we need in the sky before we increase our ISO. We know how high our ISO can go before our photos get too noisy.
KNOW YOUR CAMERA'S SWEET SPOT
Every camera's meter has a sweet spot. Learning that sweet spot will help you create better photos while shooting in manual. When you're shooting in manual and you're reading your camera's meter you'll learn that your camera has a sweet spot in regards to how it reads light. One of my camera's has a sweet spot that is 1 to 2 stops overexposed, which means I know to get the best exposure I should test my light 1 to 2 stops overexposed. One of my other camera's has a sweet spot that is 1 or 2 stops underexposed, I know to get the best exposure I should test my light 1 to 2 stops underexposed. Shooting in manual and learning your camera's sweet spot will give you even greater control over the photos you create.

UNDERSTAND THE CHANGES IN LIGHT
Understanding changes in light will help you create better photos when shooting in manual. If we start shooting early in the golden hour and shoot until the sun has set then we need to understand how those changes in light effect our camera settings and our photos. The beginning of our shoot will be golden and glowy, and our settings will be specific to that lighting. However, as the sun sets we will need to adjust our settings. Our photos will start out with a warm tone and by the end our photos will have a cooler tone.
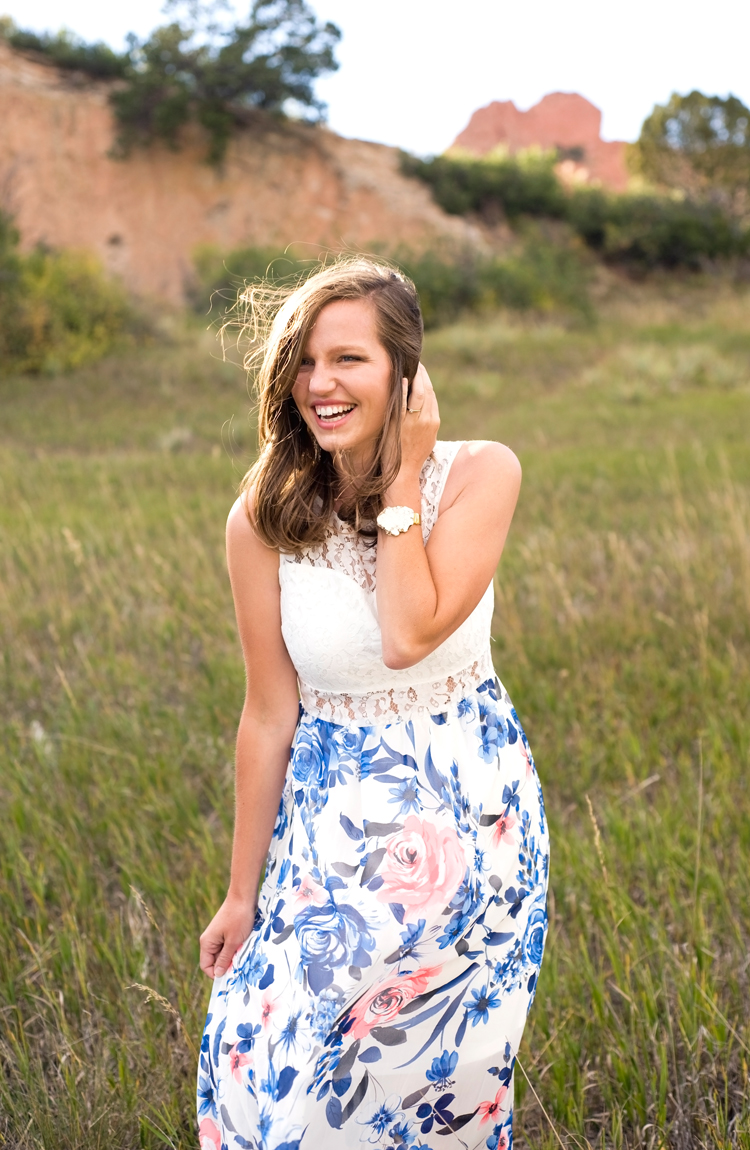
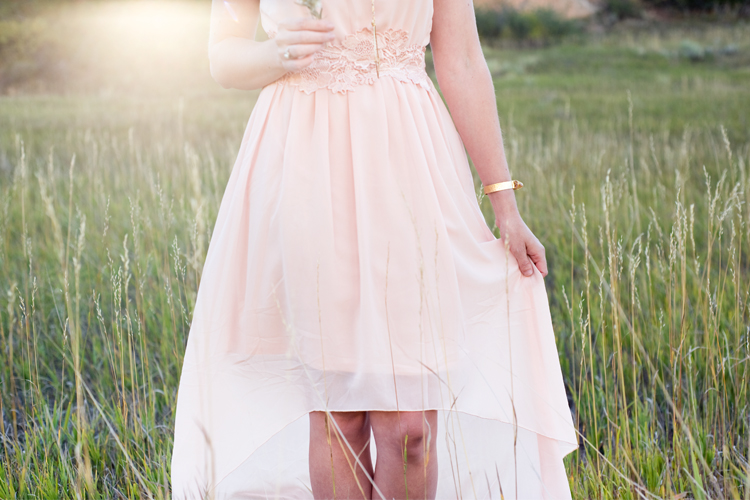
Beth's Wearing : Pieces of You Maxi Floral Dress || Ekata Stone Cuff Bracelet || Ekata Goldfilled Knot Earrings || Shop Ekata jewelry and receive 15% off your purchase, use code EKATA15!
Shooting in manual can be very overwhelming, but it can also drastically change the way you make your photos. What are some of your surefire tips for shooting in manual? When is your favorite time to do photo sessions? xoxo. Samantha


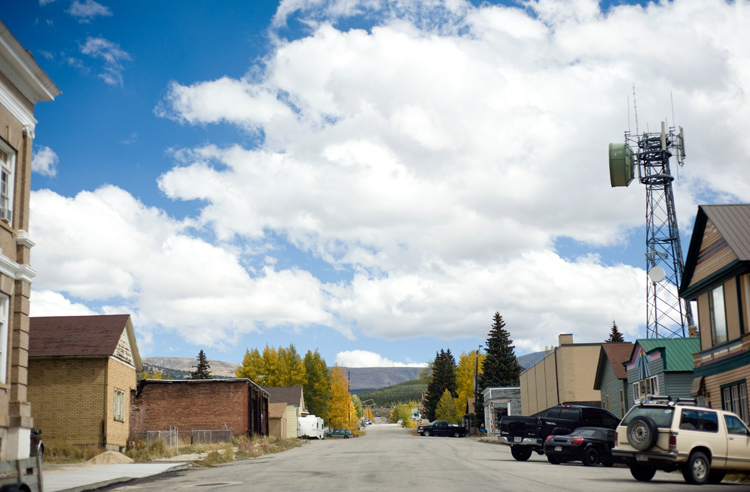
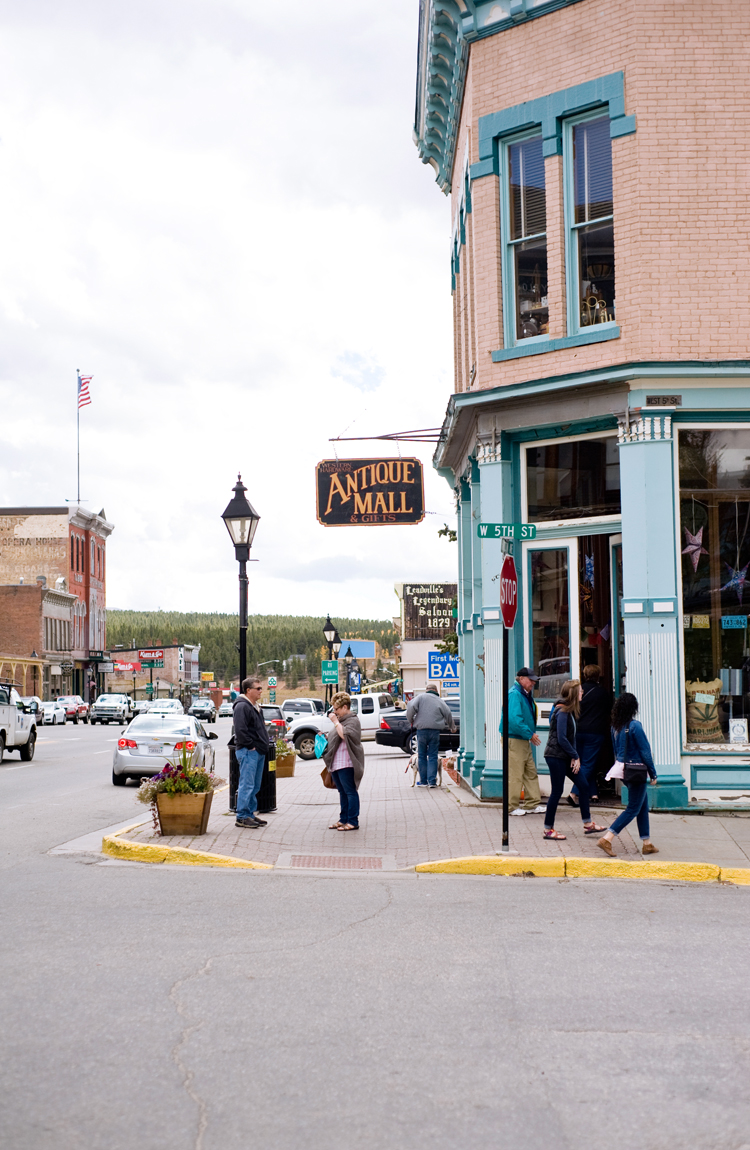
LEADVILLE, CO + TIPS FOR PORTRAITS ON THE GO

I love tiny towns. Whether they are tiny mountain towns, tiny East coast towns, tiny West cost towns, or tiny Midwest towns. Tiny towns, from anywhere, are my favorite. Leadville is a tiny mountain town and it holds up to the tiny mountain town persona; quaint, friendly, local finds, and general good fun.
Leadville was our second stop during my Colorado adventures. And our first stop in Leadville was lunch, which I was super happy about. I'm always happy when food is involved, haha! After I inhaled my food, which was delicious, we headed out to walk the town. Because Leadville was the cutest little town ever and kept seeing the perfect places to snap portraits. I love snapping portraits... portraits was the reason I fell in love with photography. As we walked around Leadville I kept stopping and asking someone if they would let me take their picture... "Hey, will you stand right here?" ..."Hey, will you sit right here?" Thankfully everyone always said yes. :)

TIPS FOR PORTRAITS ON THE GO
LOOK FOR FRAMING: One thing I'm always drawn too when I'm on the go, especially when I'm thinking about portraits, is framing. I'm always looking for framing. When I look for framing I'm looking for structures that frame my subject. This could be door frames, alley gates, tree canopy's, anything. The picture below started out framed. I was initially drawn to the doors and the framing of the doors, so I sat Beth within the framing. Once in post processing, I decided I liked the composition a little tighter.
LOOK FOR UNIQUE BACKGROUNDS: One of the places we walked through during our time in Leadville was an antique mall. Guys, Tyler and I love antique malls. We love finding vintage items and unique decor pieces. Anyways, while we were walking through this antique mall I saw the perfect space for a photo. It was a rectangular room, so it provided a great u-shape similar to framing. Plus, all the vintage items created a really unique background.
LOOK FOR UNIQUE LIGHTING: This one goes with the one above. The same unique background had great unique lighting. There was a window letting in a perfect amount of light. It was the light that I was initially drawn too.


LOOK FOR DEPTH & LAYERS: Meg's photo above was inspired by depth and layers. As we were walking by I noticed the brick and iron railing, which I loved, but to take the photo straight on wasn't the greatest. What was behind the railing wasn't very visually appealing. I knew that I could create a more dynamic photo if I took the photo looking down the sidewalk, which created lots of depth and layers. The great thing about Meg's photo is that you get a better sense of a story.
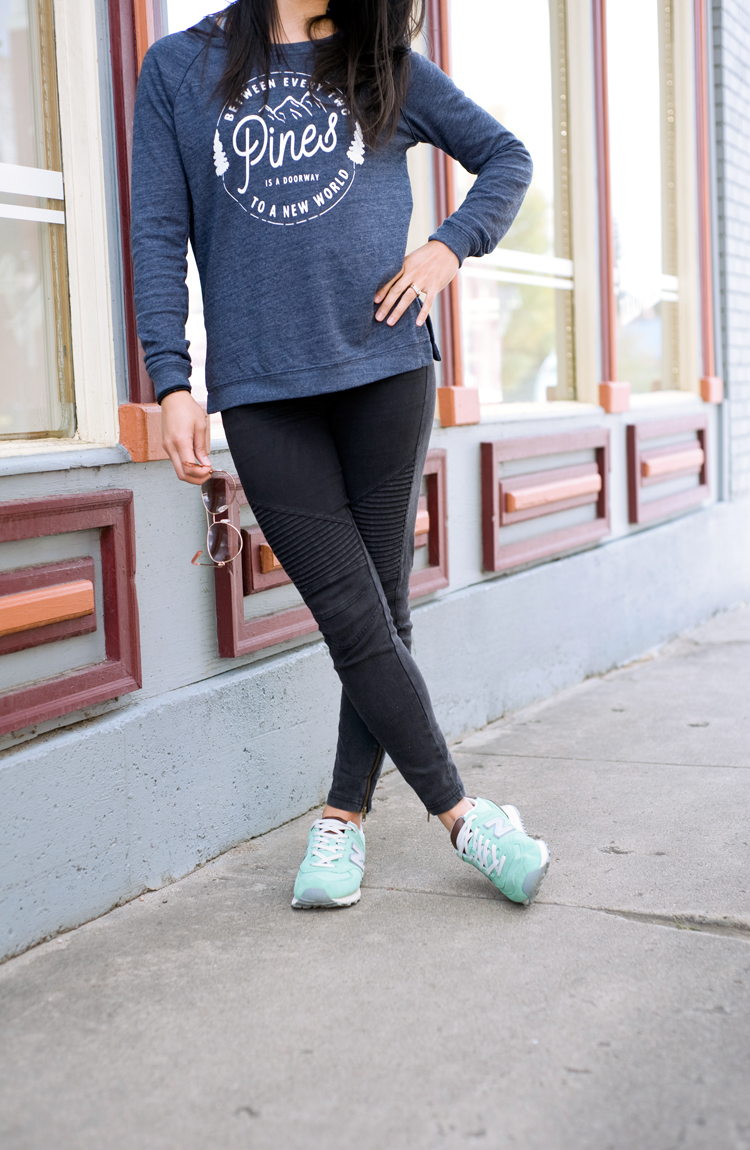
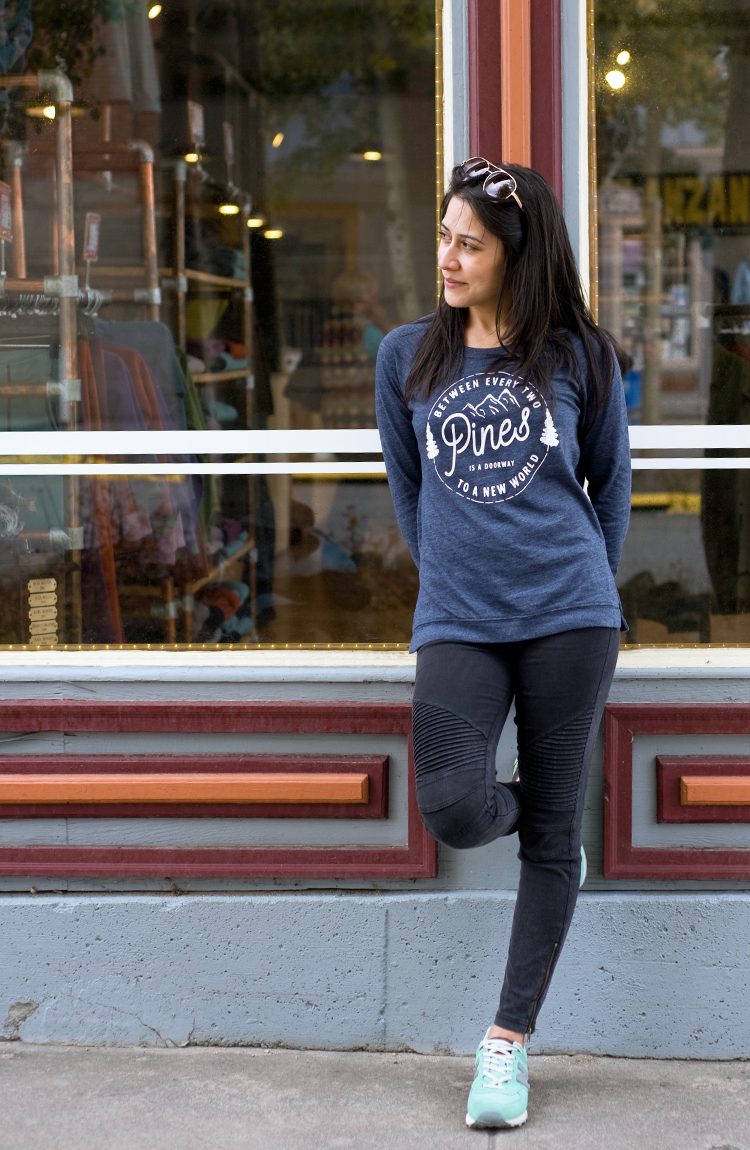
Featured Items: (Me) Between Two Pines Pullover c/o || (Me) Classic Mojo Jeggings c/o || (Beth) Punch Vintage Leather Cuff c/o || (Beth) Natalie Borton Camille Necklace c/o || (Beth) Be Strong Boot c/o || (Meg) Between Two Pines Pullover c/o || (Amy) On My Radar Demin Jacket c/o
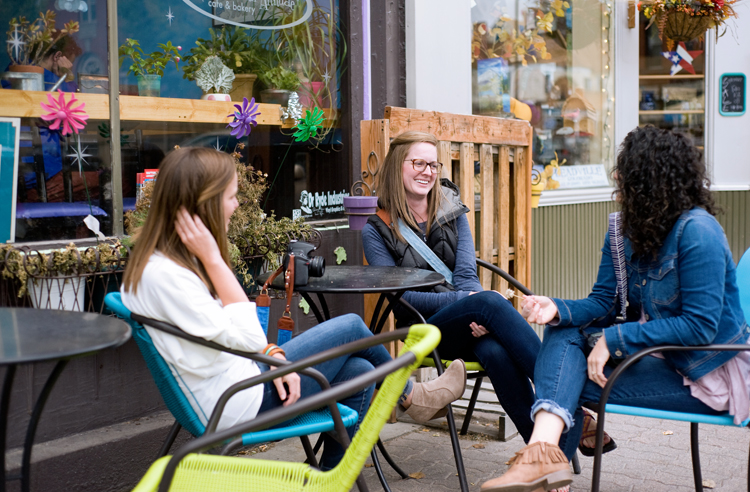
Guys, I'm so thankful for friends that let me snap their photos. I could take pictures all day everyday. We had so much fun walking around Leadville; eating good food, spending time together, laughing, window shopping, and stopping for coffee... even though I don't drink coffee, ha! :) xoxo. Samantha
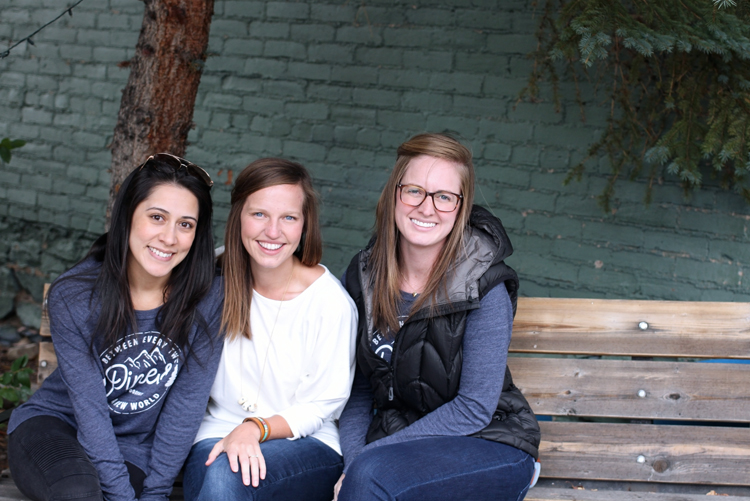
P.S. Thank you to Beth of Oak + Oats for snapping these great photos of me and A Love Photography for snapping that cute one of the three of us!
WIDE OPEN SPACES : CAPTURING YOUR SUBJECT AND HIGHLIGHTING YOUR BACKGROUND

Some of my favorite photos are those that have beautiful landscapes in the background. Ones in which I feel that the photographer is working to capture their subject and highlight the background as well. This is something I'm definiltey still working towards, but we all start somewhere, right? ;)
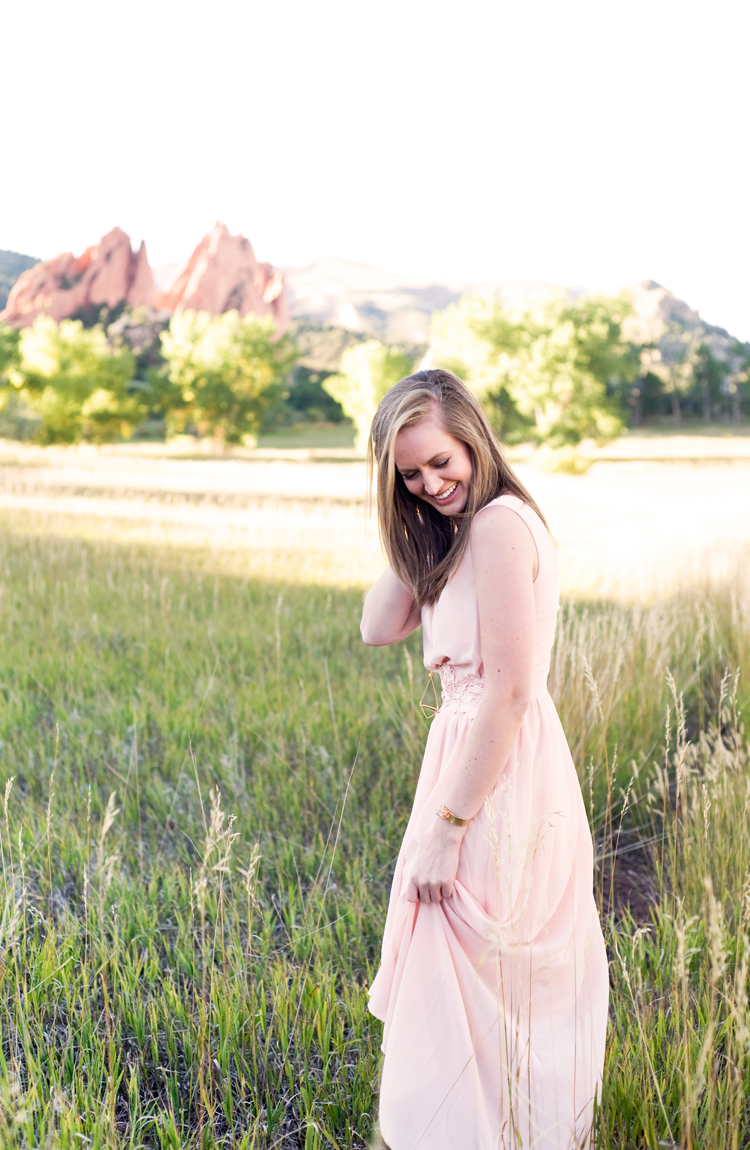
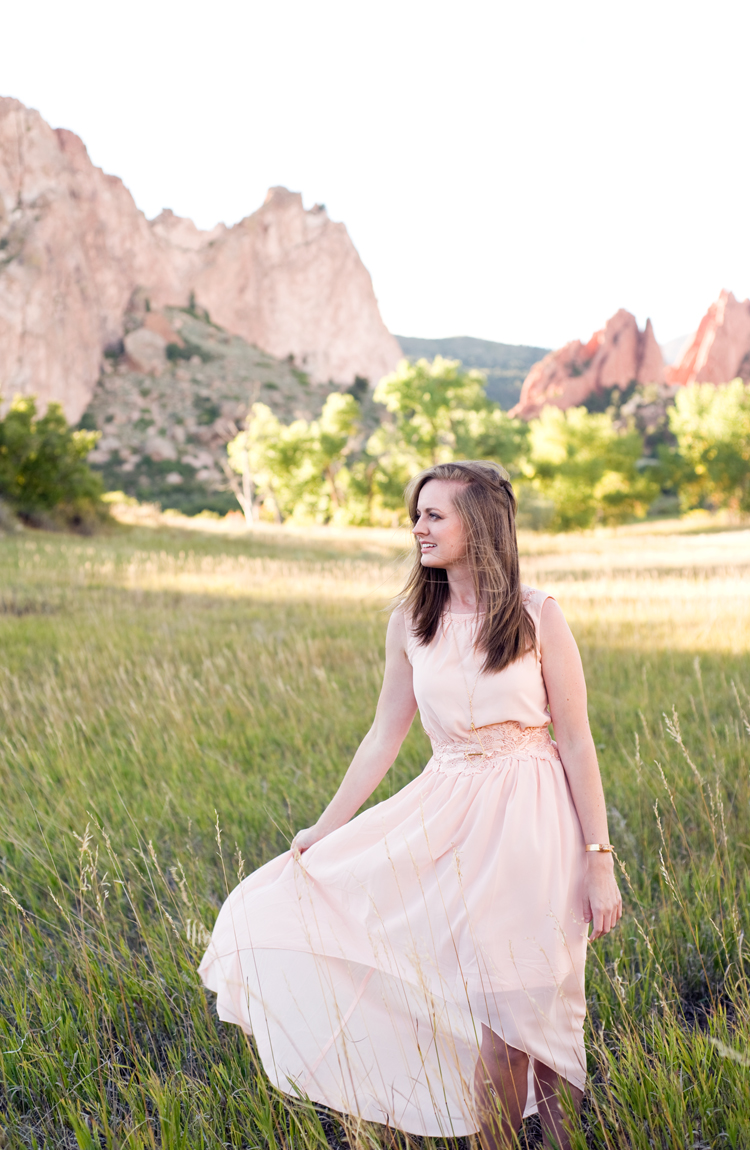
While in Colorado... or should I say before our weekend arrived, Beth, Meg, Amy, and I all chatted about different things we would like to do while all together. For me, I simple wanted to take lots of pictures of pretty people and pretty things. Amy had mentioned that she wanted to do a dreamy mountain shoot. We were all on board and I was over moon to take pictures as well. I love taking picture no matter what, but I loved that we specifically planned for this shoot. We all had dresses picked out, Amy did our make-up, we fixed our hair, and we all headed out to an open field with a magnificent background. We spent time behind the camera and we took turns stepping in front of the camera too. Amy was on point directing everyone through the shoot and I snapped away from behind.
CAPTURING YOUR SUBJECT AND HIGHLIGHTING YOUR BACKGROUND
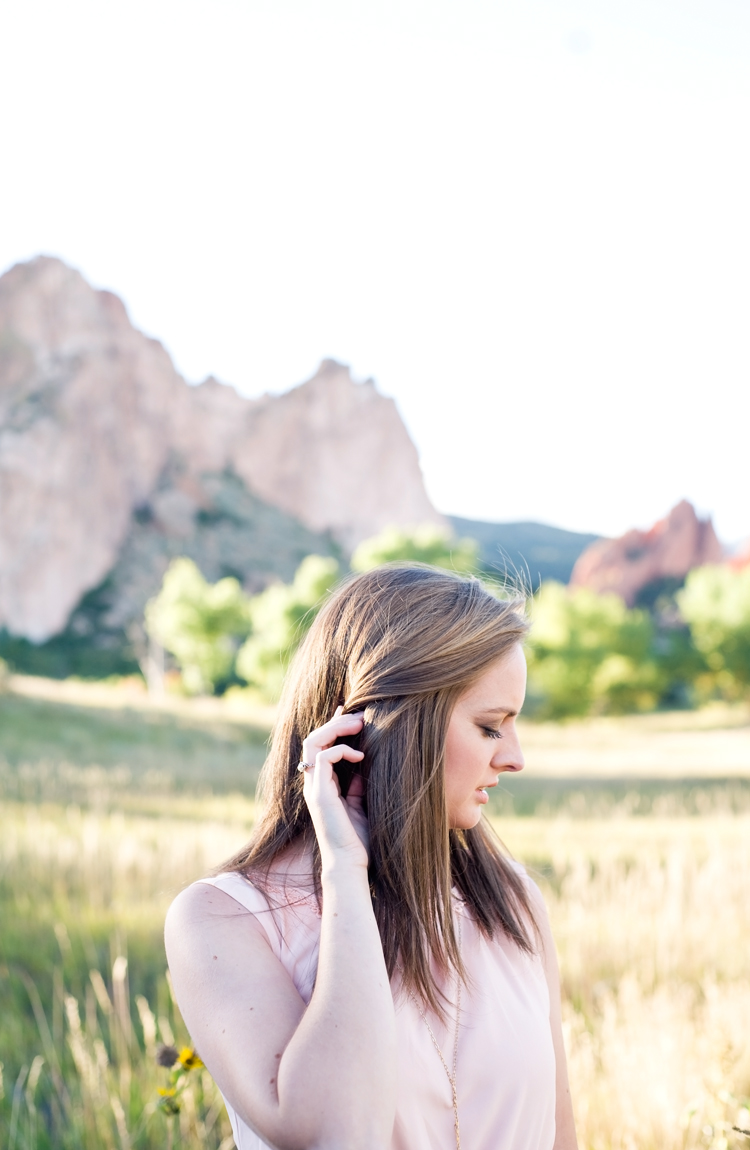
REMEMBER THE RULE OF THIRDS: The rule of thirds is one of the first composition principles I learned as a photographer. It's so second nature now that I shoot in the rule of thirds without even thinking about. However, when you are working to capture your subject and highlight your background, the rule of thirds can really benefit you when trying to do both. Take the photo below as an example. Meg is position in the bottom right third of the photo. This means I can position the background in the top left third of my image. I am able to capture Meg looking beautiful and still have the background visible too.
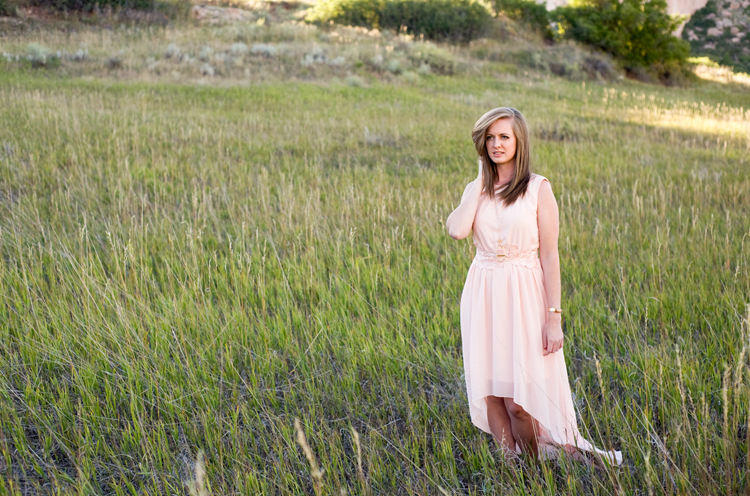
DIRECT YOUR LIGHT : In most cases when I'm shooting at sunset I prefer to shoot backlit or I position myself and my subject so that the sunlight is streaming in from the side. If I want to highlight my background I do my best not to backlight my subject. If I backlight my subject I have to overexpose to get my subject properly exposed which means my background will be blown out and not as visible. This type of shooting isn't bad, I do it all the time, but if I want to to have my background highlighted and visible I have to direct the light in a different way.
Let's use the photo above as an example. Meg and I are both positioned in the shade, which is great because I was able to achieve an even tone and exposure. Because she is positioned with the mountains directly behind here and the sun setting to the right of her I am able to expose for her while the background is still properly exposed as well.
Meg's Wearing : Catherine Bridesmaids Dress || Ekata Hammered Gold Cuff || Ekata Necklace || Shop Ekata jewelry and receive 15% off your purchase, use code EKATA15!
Camera Details : Nikon D700 || Nikkor 50mm Lens

One more thing that could add to highlighting your background is to shoot with a large f-stop number, as if you were only shooting landscapes. I didn't use that specific technique in these photos, but it is an option. This particular technique may, however, take away from your subject.
Doing this shoot with Meg, Beth, and Amy was so fun! I loved watching Amy direct and I loved snapping photos of all the girls! xoxo. Samantha
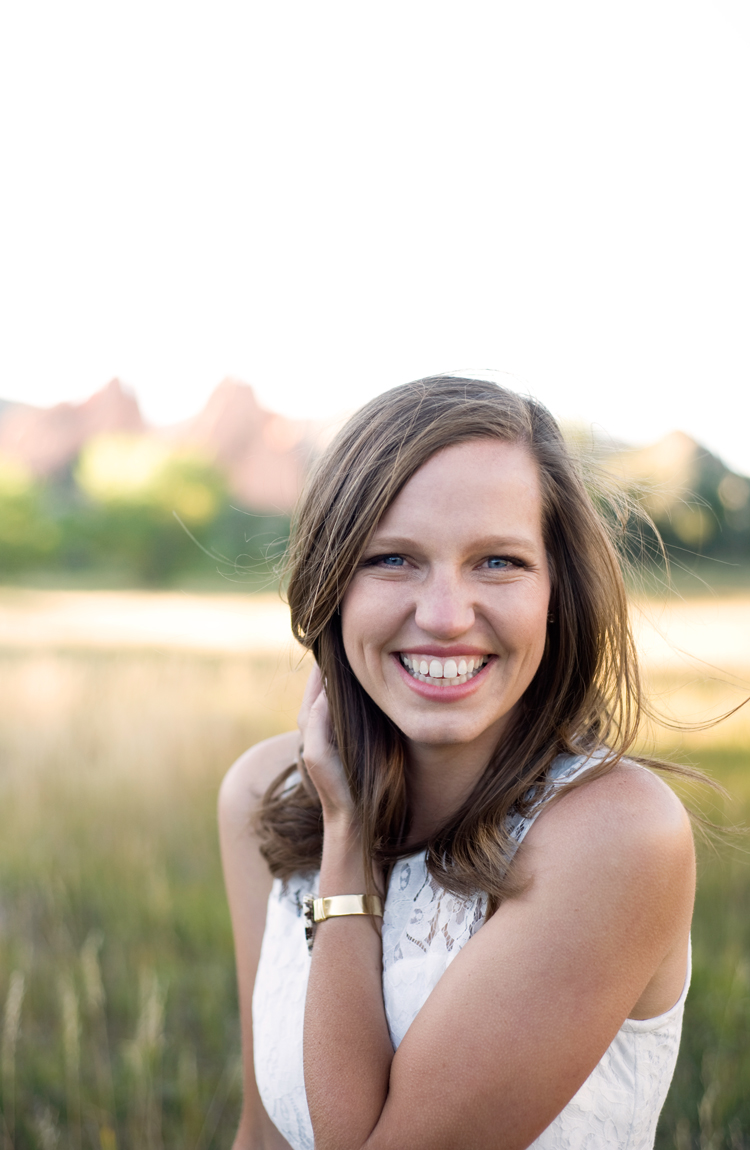
4 TIPS FOR SHOOTING IN DIRECT LIGHT

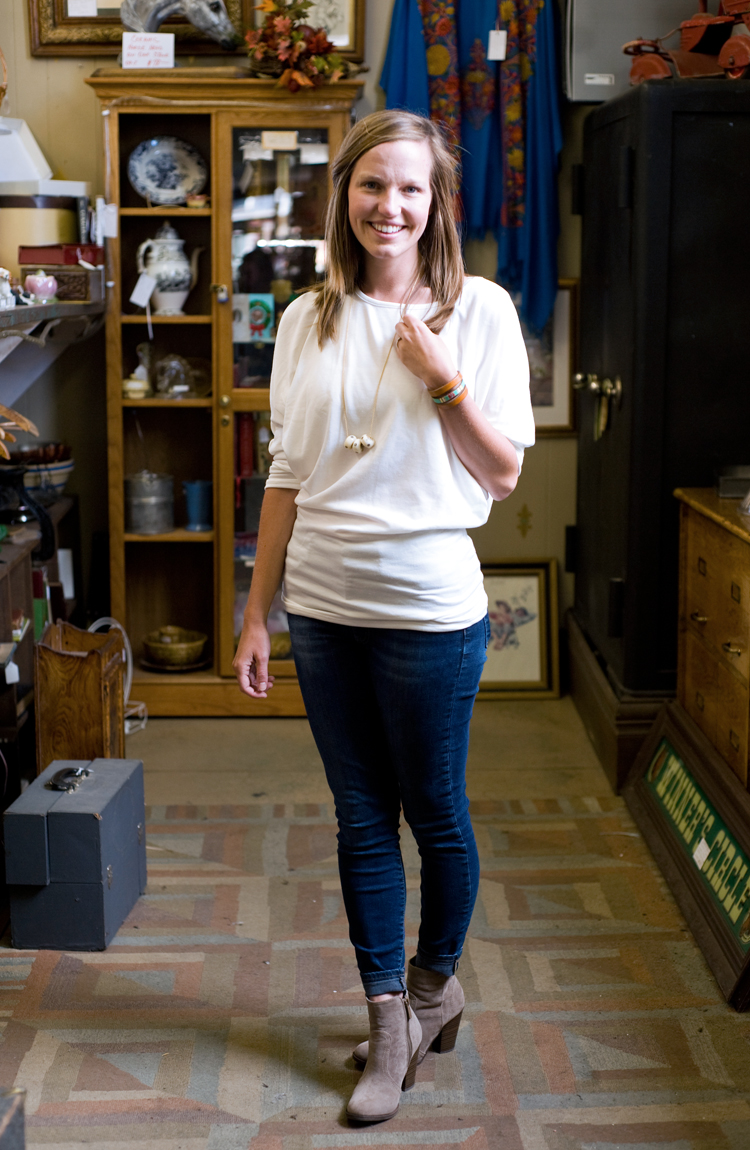
Shooting in direct light scares me, haha! Mostly because I prefer even soft light. But direct light forces me to think differently... it stretches me, it pushes me out of my comfort zone. While in Colorado I had the pleasure of taking photos of lots of pretty things and lots of pretty people. Beth graciously allowed me to capture some style photos for her, which was so fun! I could take pictures of Beth everyday. :) We were all together taking in the beautiful scenery and the time of our photo shoot fell about mid-day.
I didn't want the mid-day sun to detour me, but I knew it would be tough. One of these days I should spend some time just snapping photos in direct sun light and see how I feel about it... I'm always desperately looking for the best soft light around.
TIPS FOR SHOOTING IN DIRECT LIGHT
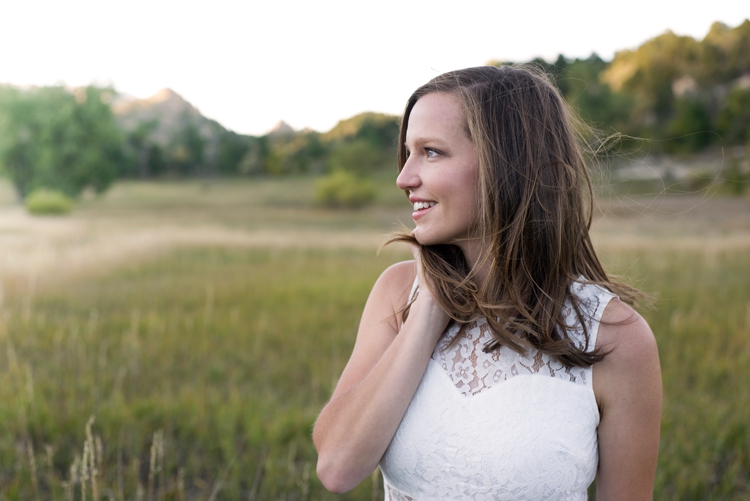
LOOK FOR SHADE: My first instinct when shooting in direct light is to look for shade. Shade provides soft even light, allowing your subject to be evenly lit. When looking for shade try to find areas with pockets of open sky. Once you find the area in which you want to shoot, position your subject just on the edge of the shade with open sky behind you (the photographer.) This will insure you're subject's face is nice and bright. For this particular shoot, with Beth, I totally forgot to find open pockets of sky behind me to help with light. I still love Beth's photos, but there is always room for improvement, right? ;)
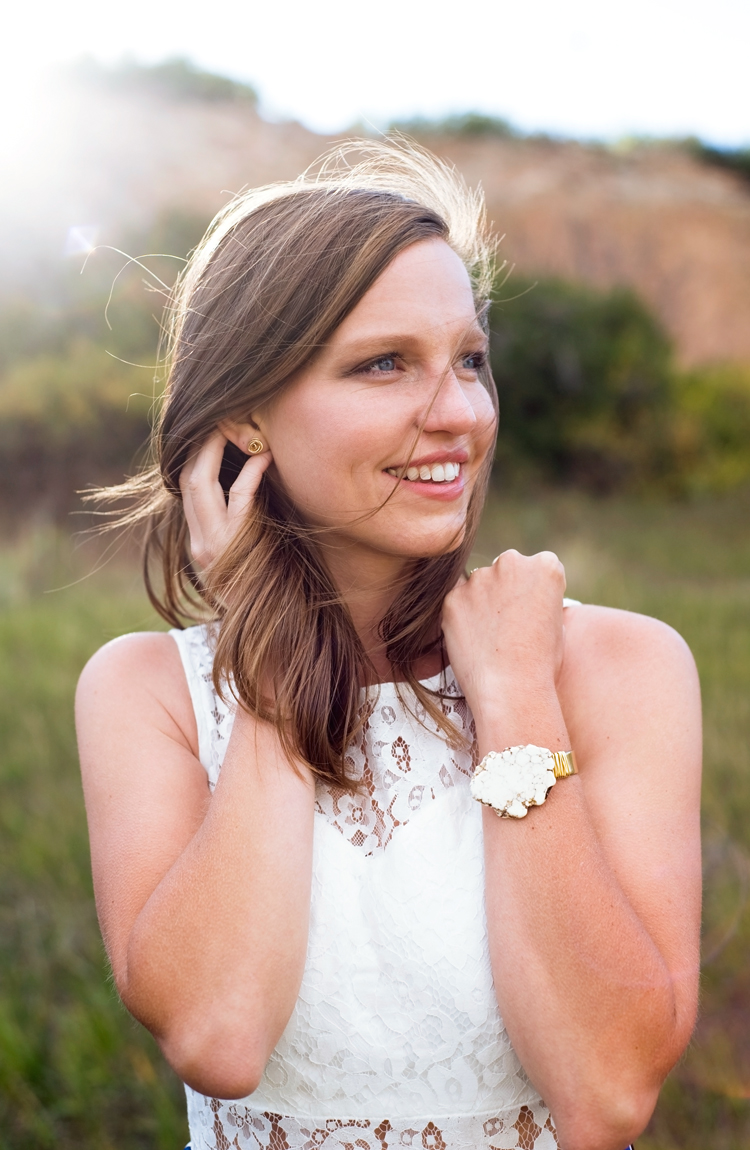
OVEREXPOSE: When you are shooting in the shade with direct light you almost always have to overexpose to make sure your subject is properly exposed. When you're looking through your view finder and reading your meter, your meter is going to read the light for the overall photo and background. That means your camera will work to get the background properly exposed and your subject will be too dark. Take a few test shots to find the best exposure. For these particular shots I overexposed by at least 4 stops and I brought the exposure up even more in post processing.


USE STYLE ITEMS TO YOUR ADVANTAGE: Because Beth was wearing a hat in these photos, regardless of where she stood, her face would almost always be well shaded. If you find yourself in direct light, but shade is limited think about what style items you may be able to use to your advantage.
POST PROCESSING: I think one thing that new photographers get discouraged by is seeing their photos sooc (straight out of camera,) and they aren't what they were hoping for. Guys, nearly all of my photos sooc are muddy. They are flat and kind of boring, haha. Most photos come to life in post processing. Our job never ends at the snap of the shutter, we have to develop them too. Keep in mind that your first pass of processing may not be your last. I processed all of these photos for Beth, but after they had sat for a few days and I began to prepare this post I felt like the photos needed a second pass. This isn't always the case, but this style of photos where the background is brighter then the foreground and I'm working to properly expose my subject... sometimes a second pass is needed.

I think every photographer will find their sweet spot when it comes to their preferred lighting, style, and editing. I find so much encouragement in knowing that each shoot is only one shoot and there are many more shoots ahead. I loved doing this shoot with Beth because she is so lovely and while I was struggling with light, she was so sweet and encouraging. I want to fly to Colorado and take photos of Beth all the time. What are some of your surefire tips for shooting in direct light. xoxo. Samantha